If you’ve only ever had sweet French toast with syrup and powdered sugar, this savory French toast recipe might just change your breakfast game for good.
It’s made with ingredients you probably already have on hand: eggs, bacon, green onions, and garlic. And I’ve even got ideas for veganizing it!
It’ll make you wonder if you should throw that bottle of maple syrup out the window. Or you could always pour a little on for some sweet-and-savory fun.
Jump to the recipe if you’re ready to dig in, or read on for more ideas of toppings and ways to make this recipe even easier.
Savory French toast: Easy and Flexible!
This recipe is incredibly low-stress and flexible. Whether you’re cooking for one or feeding a crowd, whether you’re vegan or an omnivore, this dish adapts beautifully to whatever you need.
1. It uses familiar ingredients
No obscure items, no specialty shopping, and very few perishables. This recipe leans on staples you probably have on hand. Even the bread can be whatever crusty loaf you have on hand.
2. You can easily change up the toppings
This savory French toast is a perfect canvas. Add a handful of fresh herbs if you have them (chives, parsley, or dill all work great). Add some hot sauce for a little heat. Roasted cherry tomatoes or even leftover roasted vegetables are particularly at home here.
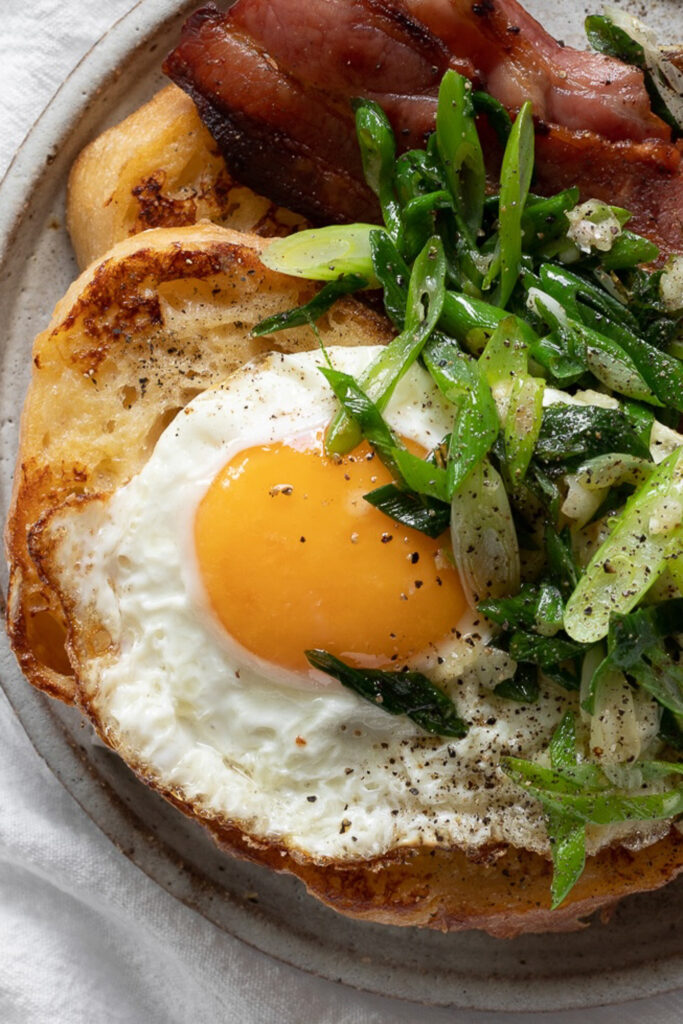
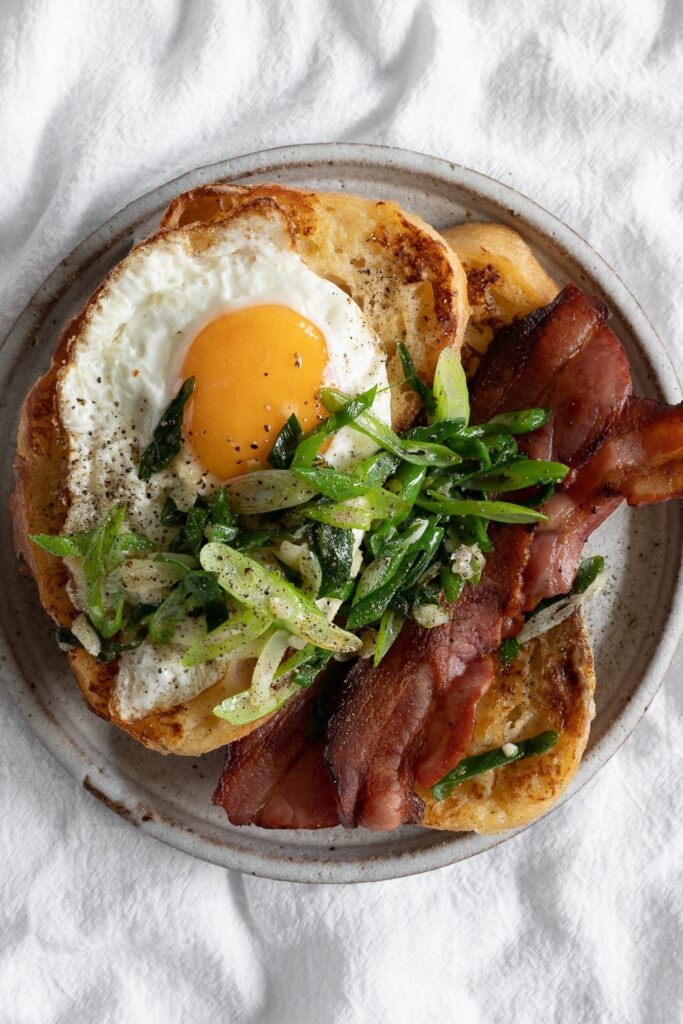
It all comes down to the garlic and green onion topping—it goes with almost anything, adding a ton of flavor and a little pop of green without a lot of effort.
Not a fan of eggs and bacon? Let’s get into veganizing it!
3. You can easily veganize it
First, for the French toast itself, swap the eggs and milk with your favorite vegan egg replacement (a pourable one designed for scrambling—avoid hommade flax eggs here, which doesn’t add the right flavor) and vegan milk alternative.
For the toppings, skip the bacon and eggs and go for savory tofu crumbles, pan-fried mushrooms, or even avocado with a sprinkle of nutritional yeast. The garlicky green onion topping is already plant-based, and that’s the key to adding lots of flavor.
4. It’s great for a crowd (or for just one!)
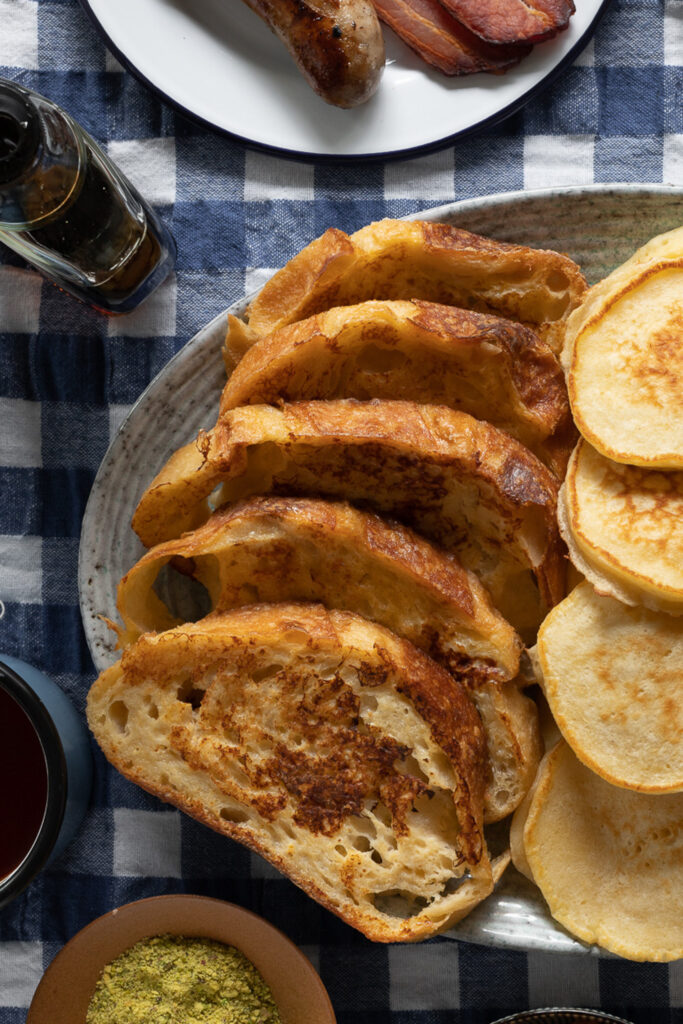
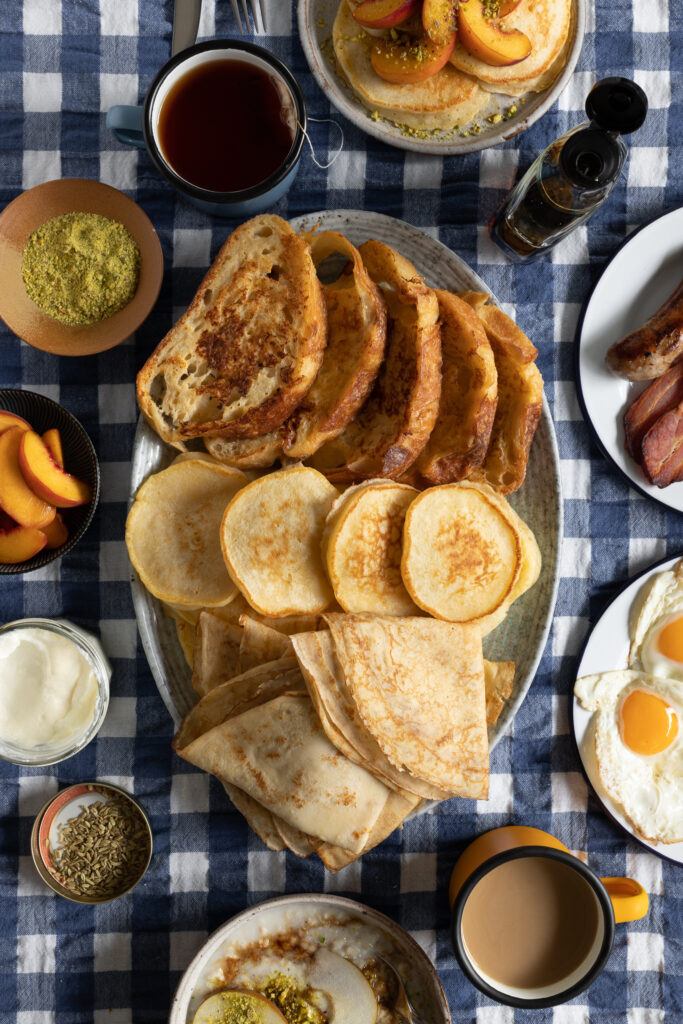
This recipe makes 8 small servings or 4 hearty ones.
For a group, you can bake the bacon on a sheet pan as the recipe specifies. This savory French toast can be cooked ahead of time and quickly reheated in the oven (just pop it on another rack for a few minutes while the bacon roasts). The garicky green onion topping keeps well in the fridge, and all that’s left to do at the last minute is to fry a ew eggs (or scramble them to simplify things further).
If you’re cooking just for yourself or one other person, you can easily scale it down. Cook the bacon in a skillet if you prefer, and make the French toast in the same pan. Everything comes together quickly, and you’ll have a savory, cozy meal.
Before I get to the recipe, a couple quick links for more French toast content!
- If you’ve got a loaf of delicate sliced bread (rather than something crusty and hearty) this Tiktok hack is life-changing.
- For sweet French toast, don’t miss Abeer Najjar’s cancelled flight French toast
- You can also try this sweet French toast casserole for a sweet alternative for a crowd.
Savory French Toast (with variations)


To veganize this recipe and for variations, see notes above the recipe.
- Yield: 4 large or 8 small servings
Ingredients
For the French toast:
- ¾ cup [180 g] whole milk
- 2 large eggs
- 1 Tbsp granulated sugar
- ½ tsp salt
- Eight ½ in [13 mm] slices stale* sourdough bread
- Cold butter, for greasing the pan
For the toppings:
- 8 to 12 pieces regular-cut bacon (200 to 300 g)
- Neutral oil (such as canola)
- 4 large eggs
- Salt
- 3 green onions, or 2 small spring onions, thinly sliced
- 3 garlic cloves, crushed through a press
- Freshly ground black pepper
Instructions
For the French toast:
- Combine the milk, eggs, sugar, and salt in a medium mixing bowl. Beat together until smooth.
- Set a large plate or two next to the milk mixture. Place a couple of bread slices in the liquid and let them float for about 30 seconds on one side, then flip and let them soak for another 30 seconds on the other. Remove once they are soft, letting some of the excess drip away for about 5 seconds—don’t let them soak in the liquid any longer, or they will get soggy. Transfer the soaked pieces to the plates and let them rest in a single layer for 2 to 20 minutes.
- Once your bread pieces are soaked and resting, preheat a nonstick or cast-iron sauté pan or skil- let over medium heat. Once hot, swipe a stick of butter across the surface. The butter should sizzle and then go quiet, but it should not smoke (adjust the heat as necessary). Place two or three slices of bread on the buttered pan. Let cook for about 3 minutes per side, just until they are cooked all the way through and golden brown on the outside. Repeat with the remaining bread slices.
For the toppings:
- Preheat your oven to 400°F [205°C].**
- Place the bacon on a rimmed baking sheet in a single layer. Bake for about 17 minutes, just until it’s crisp-chewy and browned (thick-cut will take a couple of minutes longer; thin bacon will take a bit less time).
- Using a neutral oil, fry your eggs in a non-stick sauté pan or skillet following your favorite technique.
- Remove the fried eggs from the pan and set aside. Remove all but 1 Tbsp of oil from the pan. Add the green onions and garlic to the still-hot pan and stir over medium heat for about 2 minutes. Season with salt and pepper.
- Serve the French toast topped with the bacon, fried eggs, onion, and garlic.
Notes
* If the bread slices are rock-hard, they will need to soak for much longer. “Stale” does not mean completely dehydrated—it means that the bread tastes unpleasantly mealy because it is no longer fresh.
** You don’t have to cook your bacon in the oven, especially if you’re making a single serving of this. But in my experience, it’s much easier than pan-frying, especially if you carefully line the pan with foil first for easy clean-up.

Psst… by the way, I wrote a whole cookbook of adaptable recipes like this one. It’s called A Dish for All Seasons!
Check it out for adaptable base recipes + ideas for seasonal (and evergreen!) variations. This recipe comes from the section with 4 breakfast carbs (waffles, crêpes, french toast, and pancakes) + so many ideas for mix-and-match toppings.