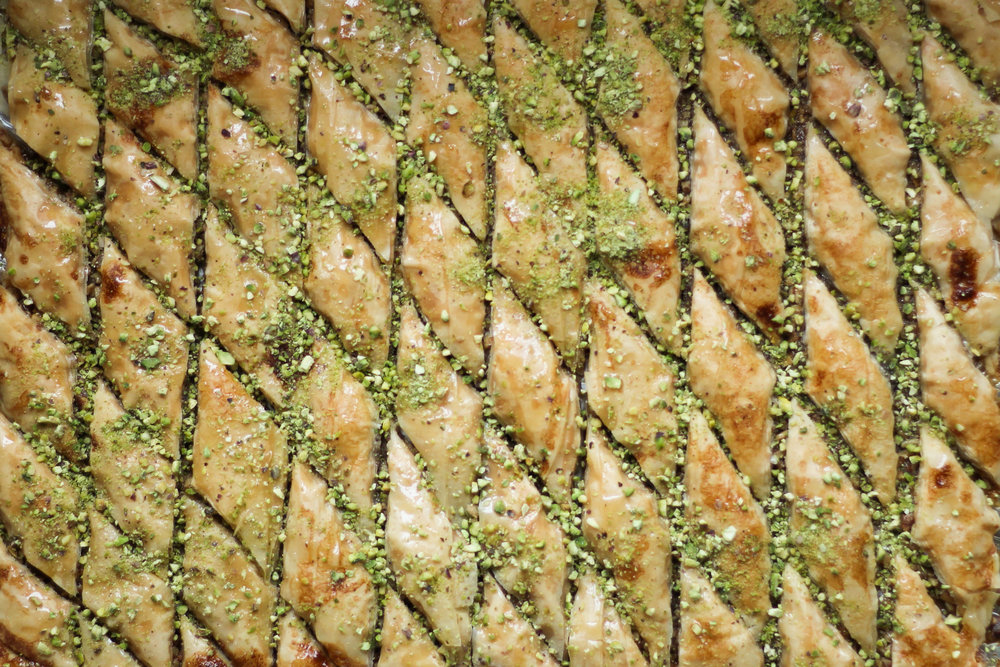
My grandmother is famous for her baklava. It’s spiced with cardamom instead of cinnamon, a very Iraqi/Syrian/Assyrian way to flavor it. But the thing that really sets her baklava apart is the 100% honey drizzle as well as her super easy technique for assembling it. There’s no complex layering and brushing involved, making this recipe perfect for everyone from first-timers to seasoned baklava experts.
Jump to the recipe (which includes a video guide on how to slice it!), or read on for a bit more info on what makes this cardamom honey baklava super easy and unique.
The easiest baklava layering method (ever)
Instead of tediously layering filo sheet, butter, filo sheet, butter, and so on (forever!), my grandmother has a better idea:
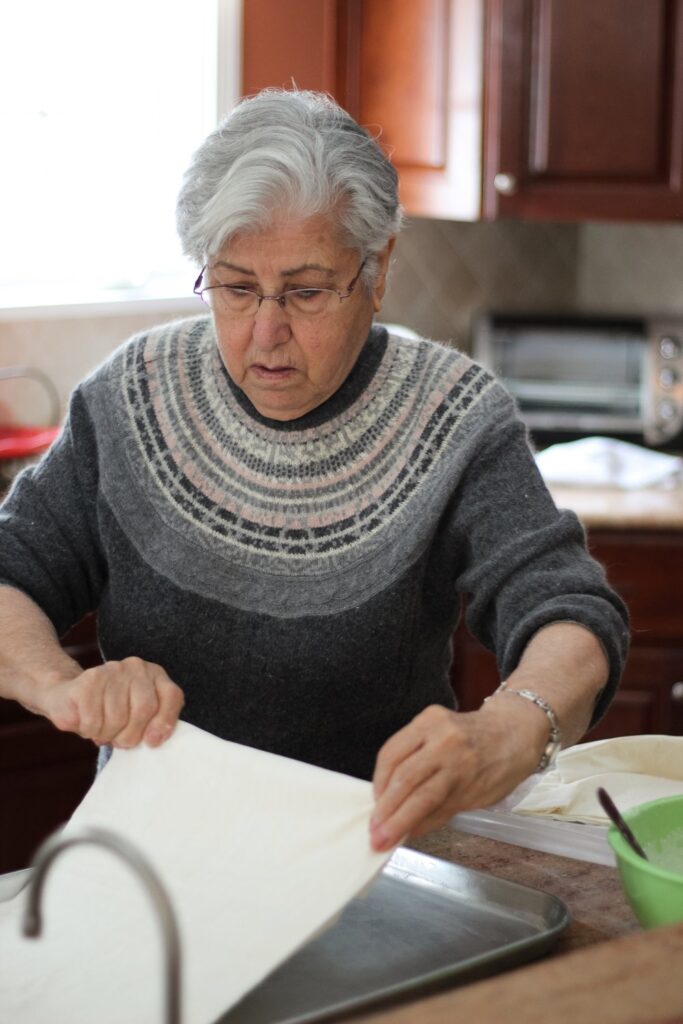
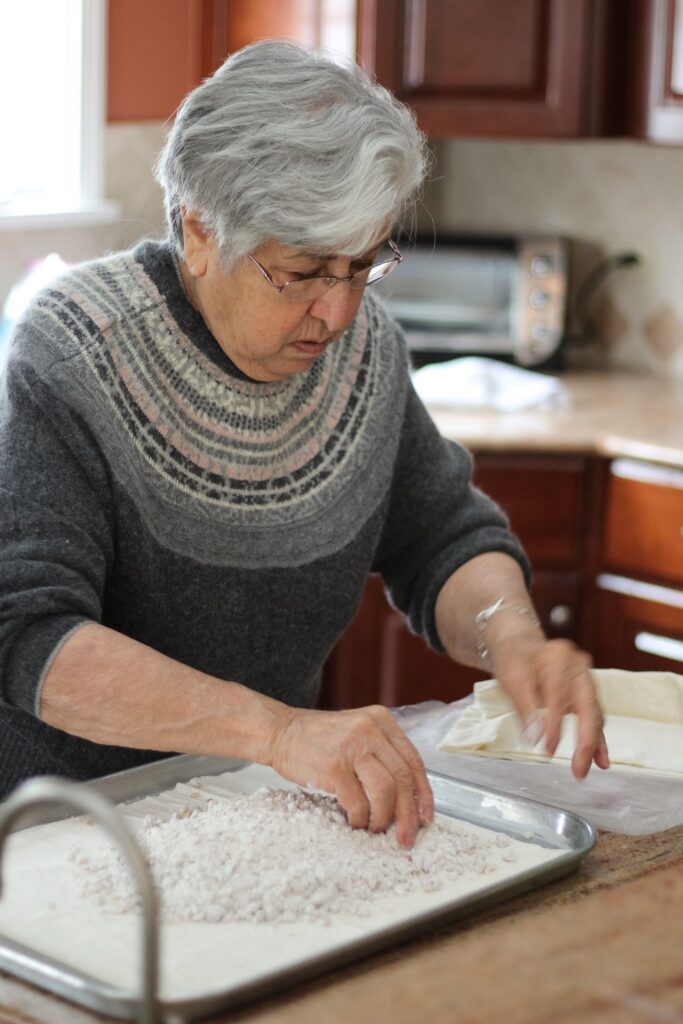
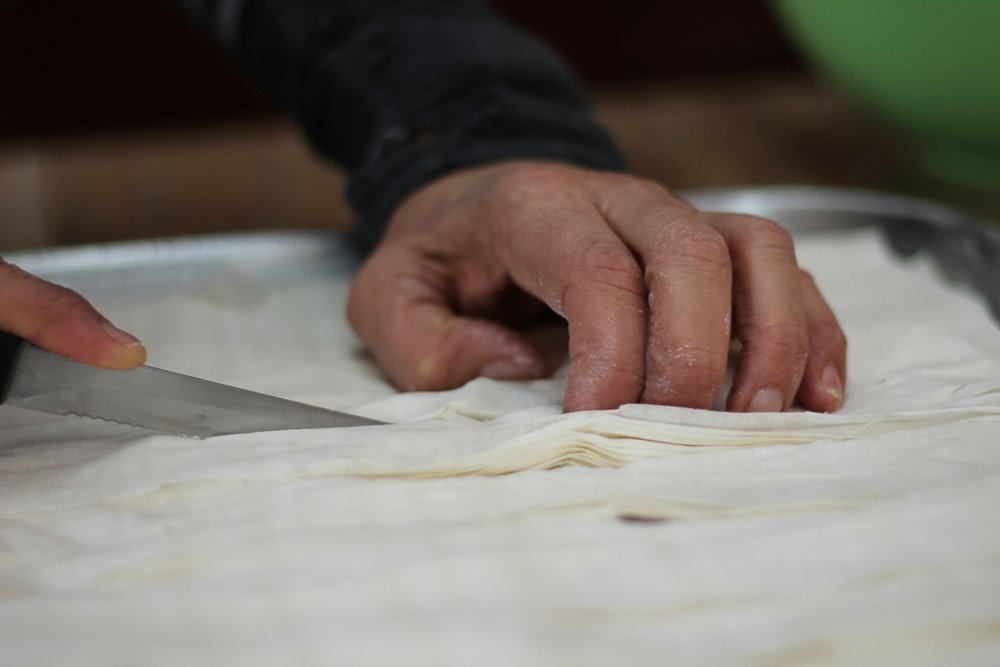
Thwack half the stack of filo dough onto a greased sheet pan. Top with the filling. Throw that other half of filo dough on top. Then, slice through all that raw dough and filling, as if you were about to serve it. Sounds crazy so far, I know, but bear with me.
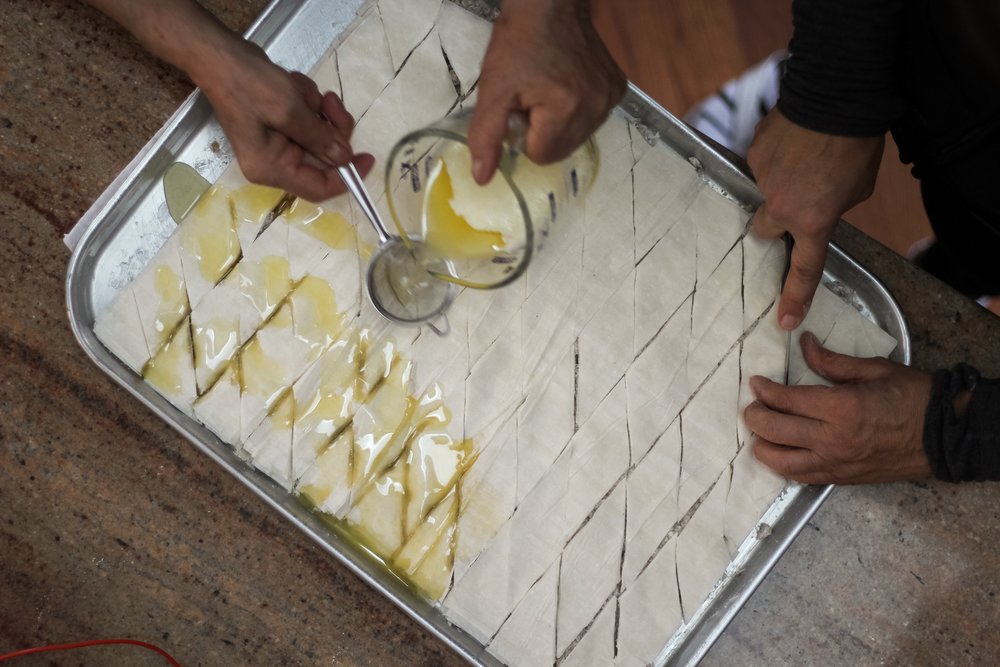
Next, we drizzle on clarified butter. Since we sliced through the baklava, that clarified butter seeps into every layer, and continues to do so as the baklava bakes. Eventually, it magically finds its way between each filo layer, leaving them shatteringly crisp and buttery, all with absolutely zero brushing!
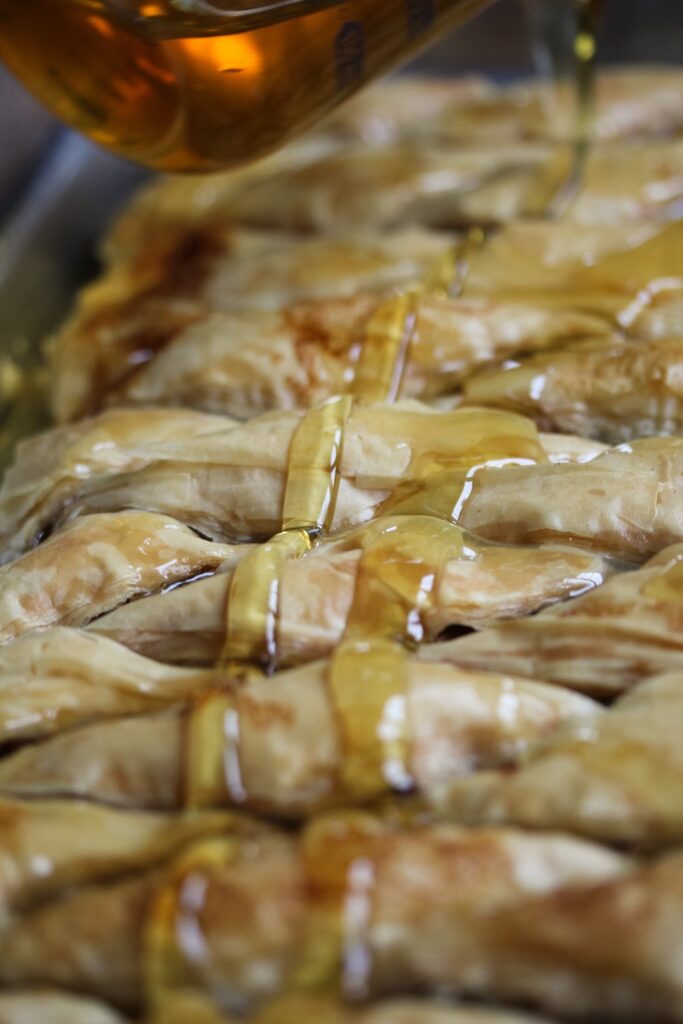
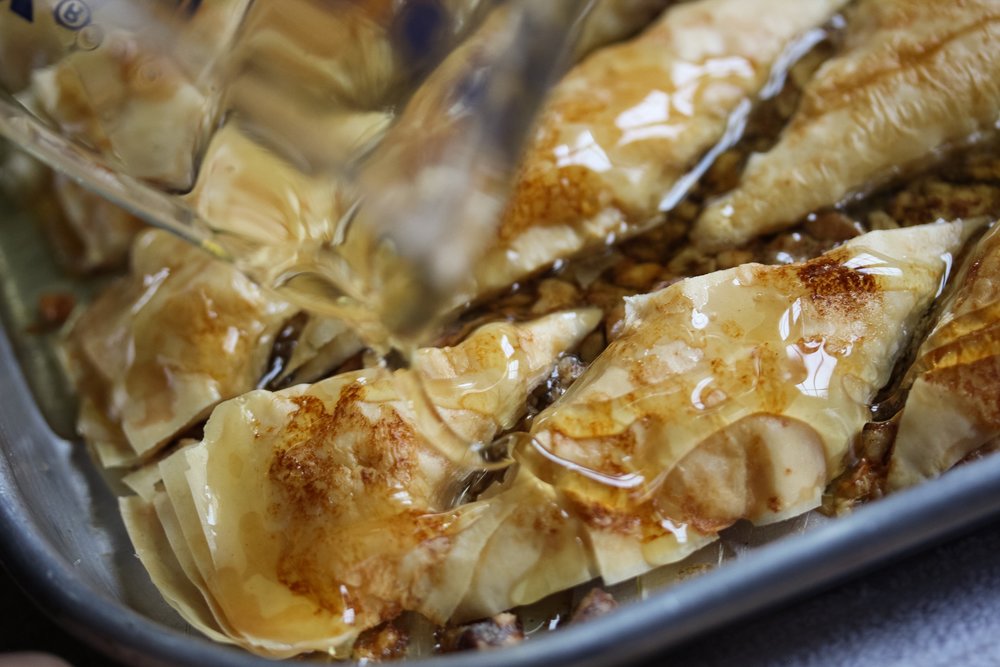
The easiest baklava syrup: honey!
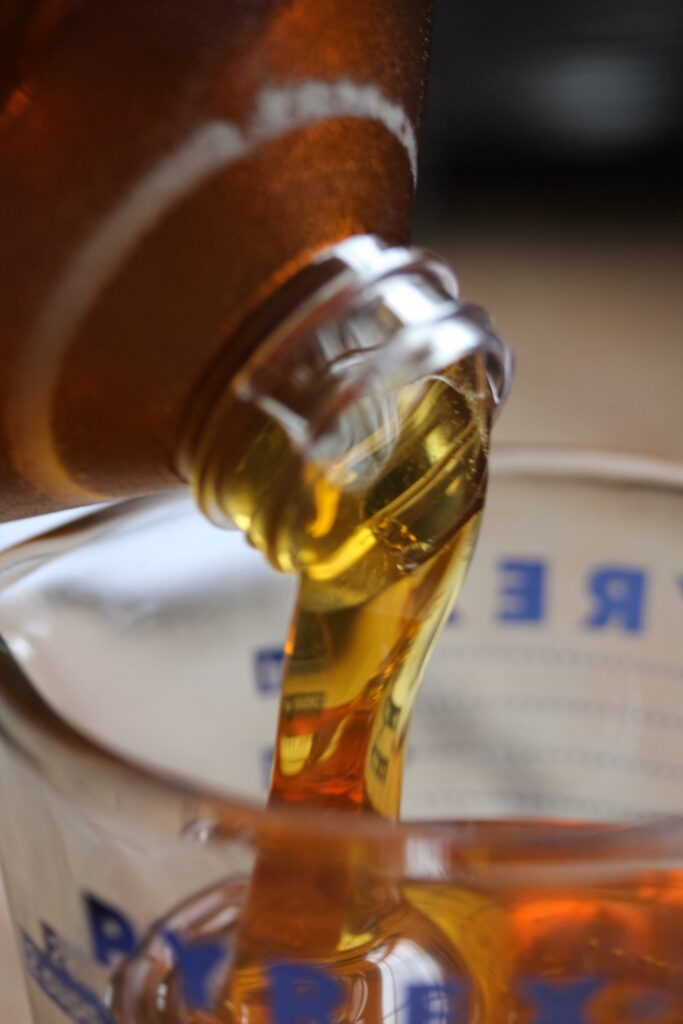
My family are firm believers that honey makes for the absolute tastiest baklava. It has so much more flavor than a simple syrup. And it’s already the perfect viscosity/sugar concentration for baklava. So if you don’t own a thermometer and/or you’re not super comfortable making syrup, there is no guesswork and no going wrong.
It’s important to drizzle on the syrup on as soon as the baklava comes out of the oven. If you wait a couple minutes, the baklava will cool too much, and the honey will not penetrate the layers enough. This can sometimes cause the pieces not to stick together enough. The other culprit for pieces that do not stick together is cutting them too large. If you cut your pieces too large, the butter and the honey will not be able to penetrate to the center of each piece.
Otherwise, this honey baklava is incredibly straightforward and so delicious. Hope you enjoy it as much as my family has for the last several decades!

More baklava
- Caramel Chocolate Baklava
- Authentic Vegan Baklava (the easy way)
- s’mores baklava
- milk tea baklawa (baklava)
- baklava frozen yogurt
- botanical baklawa (baklava)
Cardamom Honey Baklava

- Prep Time: 35 minutes
- Total Time: 2 1/2 hours
- Yield: approximately 3 to 6 dozen pieces (depending on how you slice them)
Ingredients
- 1 cup (2 sticks / 8 ounces) butter*, plus an extra tablespoon for greasing
- 16 ounces walnuts, about 4 cups medium-chopped
- 5 ounces powdered sugar, about 1 cup
- 2 tablespoons ground cardamom
- 16-ounce container of filo dough sheets (do not open until the recipe tells you to)
- 2 cups honey (1.5 lb)
- 1/2 cup finely chopped pistachios
Instructions
- Preheat the oven to 350° F.
- Use the extra tablespoon of butter to grease a 12″ x 16″ rimmed sheet pan.
- Melt the 2 sticks of butter.
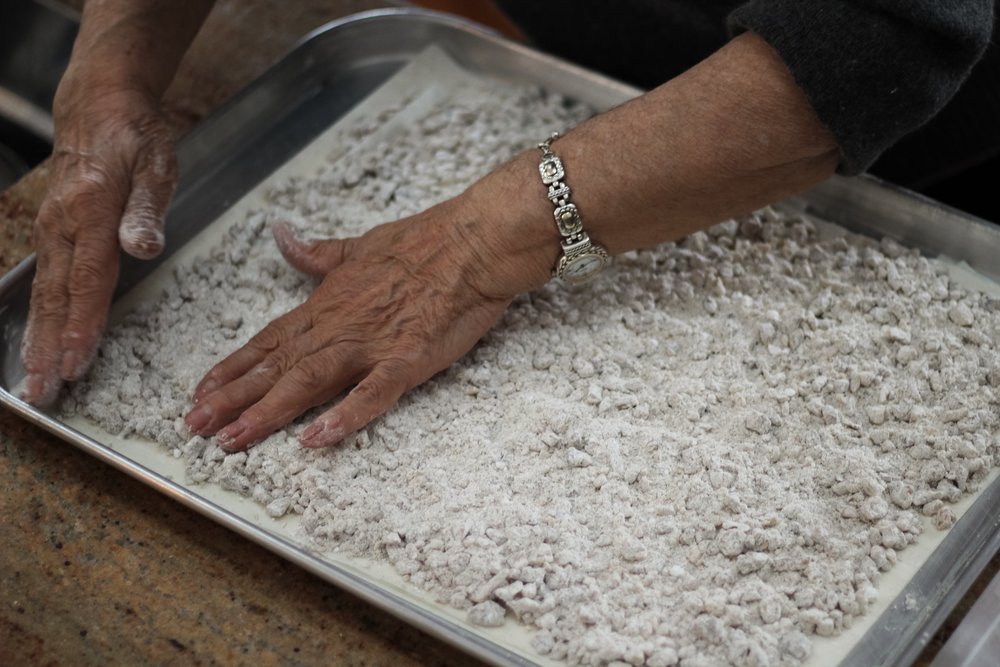
- While the butter is melting, combine chopped walnuts, powdered sugar, and cardamom, and set aside.
- Once the butter has melted, get a fine mesh strainer ready (if you don’t have a mesh strainer, spoon the foam off the top of the butter) and then open the filo dough container.
- Place half of the filo dough on the sheet pan.
- Spread the chopped walnut mixture evenly over the filo dough.
- Place the rest of the filo dough on top of the walnut mixture.
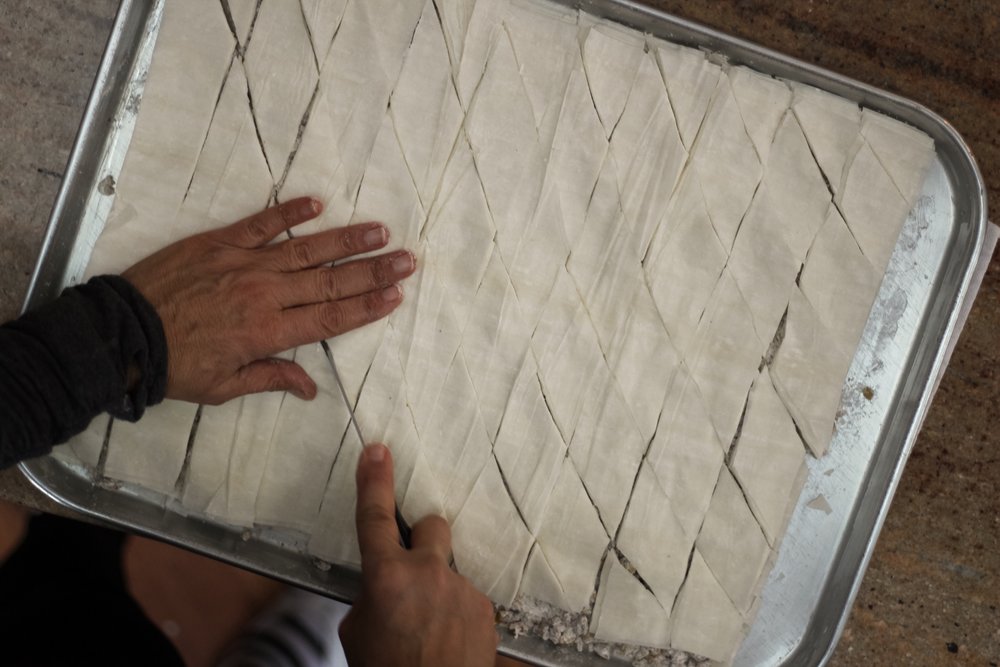
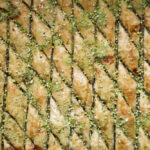
- Cut the baklava into diamonds by slicing straight across in one direction, then diagonally in the other direction (see photos above). It’s best to work with a very sharp or serrated knife so that you don’t tear, stretch, or dishevel the filo. It’s alright if a few of the pieces go a little awry, but you want everything to stay pretty lined up.
- Pour the butter through the sieve to capture the foam, slowly drizzling it evenly all over the baklava.
- Cook the baklava in the oven for about 20 to 30 minutes**, until it has lightly browned. (Start checking after 15 minutes of baking).
- As soon as it comes out of the oven, immediately pour the honey evenly over the top.
- Immediately top with ground pistachios.
- Let it sit until it comes to room temperature, at least one hour.
- Cut through the same lines you made before baking and serve.
Notes
* You can use either salted or unsalted butter. My mom and grandmother use unsalted, but I use salted. If you like your baked goods well-seasoned, salted works great.
** 20 to 30 minutes results in very traditional lightly browned baklava, but you can let it bake for up to another 10 minutes if you prefer yours to be more golden brown. Just keep a close eye on it to make sure it doesn’t burn.
Note: If you have any leftover baklava, you can freeze it and turn it into baklava frozen yogurt. To store, keep in the refrigerator for about 1 week or the freezer for about 3 months. For more baklava, also feel free to check out my recipe for vegan baklava.
Video note: If you don’t see the video for this post after scrolling up, please disable ad block and try reloading the page.
Note: This was the first blog post I ever wrote about a recipe that is very near to my heart. I wanted to rewrite the post to be more straightforward for people looking for a recipe for honey baklava, but I wanted to save the original post somewhere. You can find the original post here now!