I wrote a bit about za’atar last week. And to really celebrate this fabulous ingredient, I’m sharing three of my favorite za’atar recipes this month. Today I’ve got a fennel salad with za’atar dressing. And you don’t want to sleep on this one!
This dressing is inspired by my favorite flatbread, manakish za’atar, which is baked with a serious slurry of za’atar and olive oil. As it turns out, if you season everything like you’re making manakish, you can’t really go wrong. (I mean, how can you go wrong with a salad inspired by really good bread?)
The dressing that goes with this fennel salad is hard to beat. It’s a little tangy, herby, and savory, and has something for everyone. It goes wonderfully with fennel, grapefruit, and pomegranate (especially in the fall). But you can totally drizzle it over your favorite salad anytime of the year.
This one’s vegan, vegetarian, gluten free, in-season, super healthy, and delicious, so it’s the perfect thing to serve at a dinner party where everyone’s competing dietary restrictions add up to one big question mark.
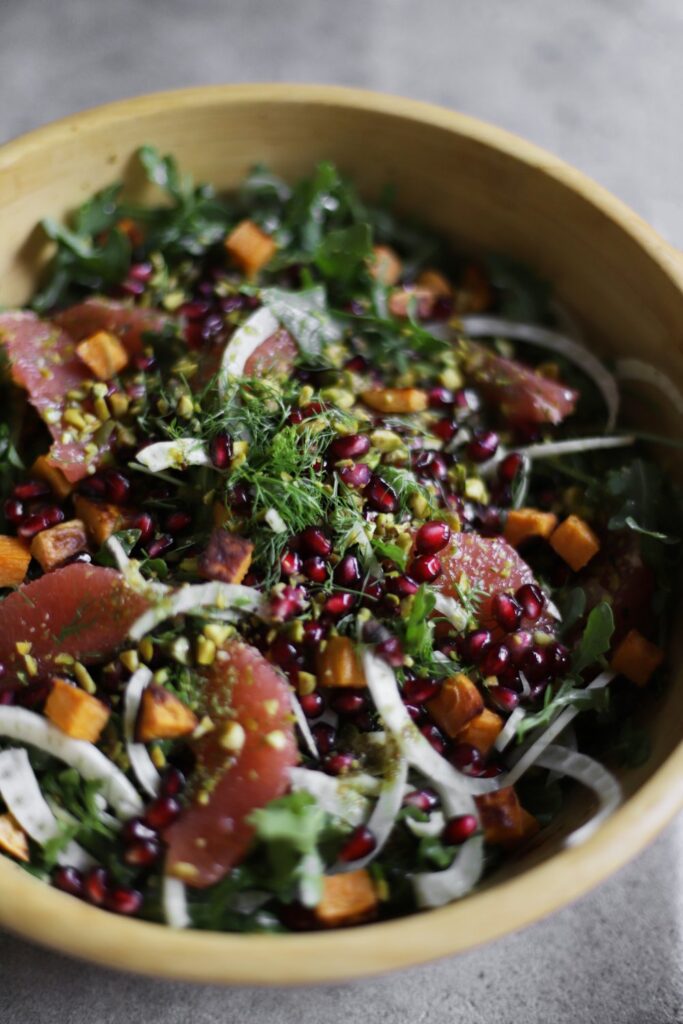
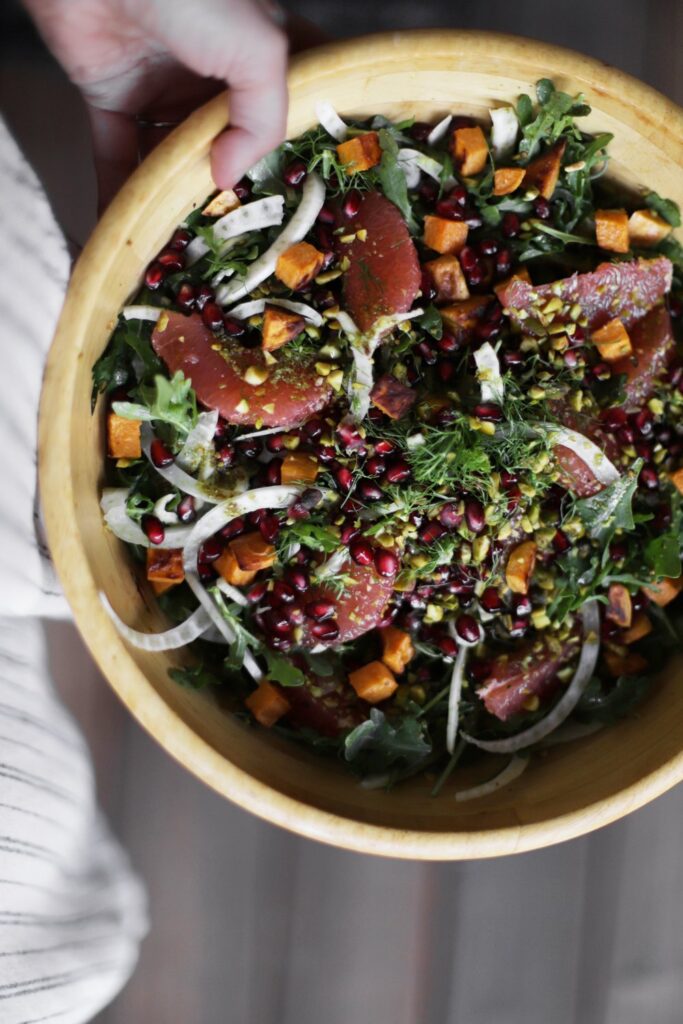
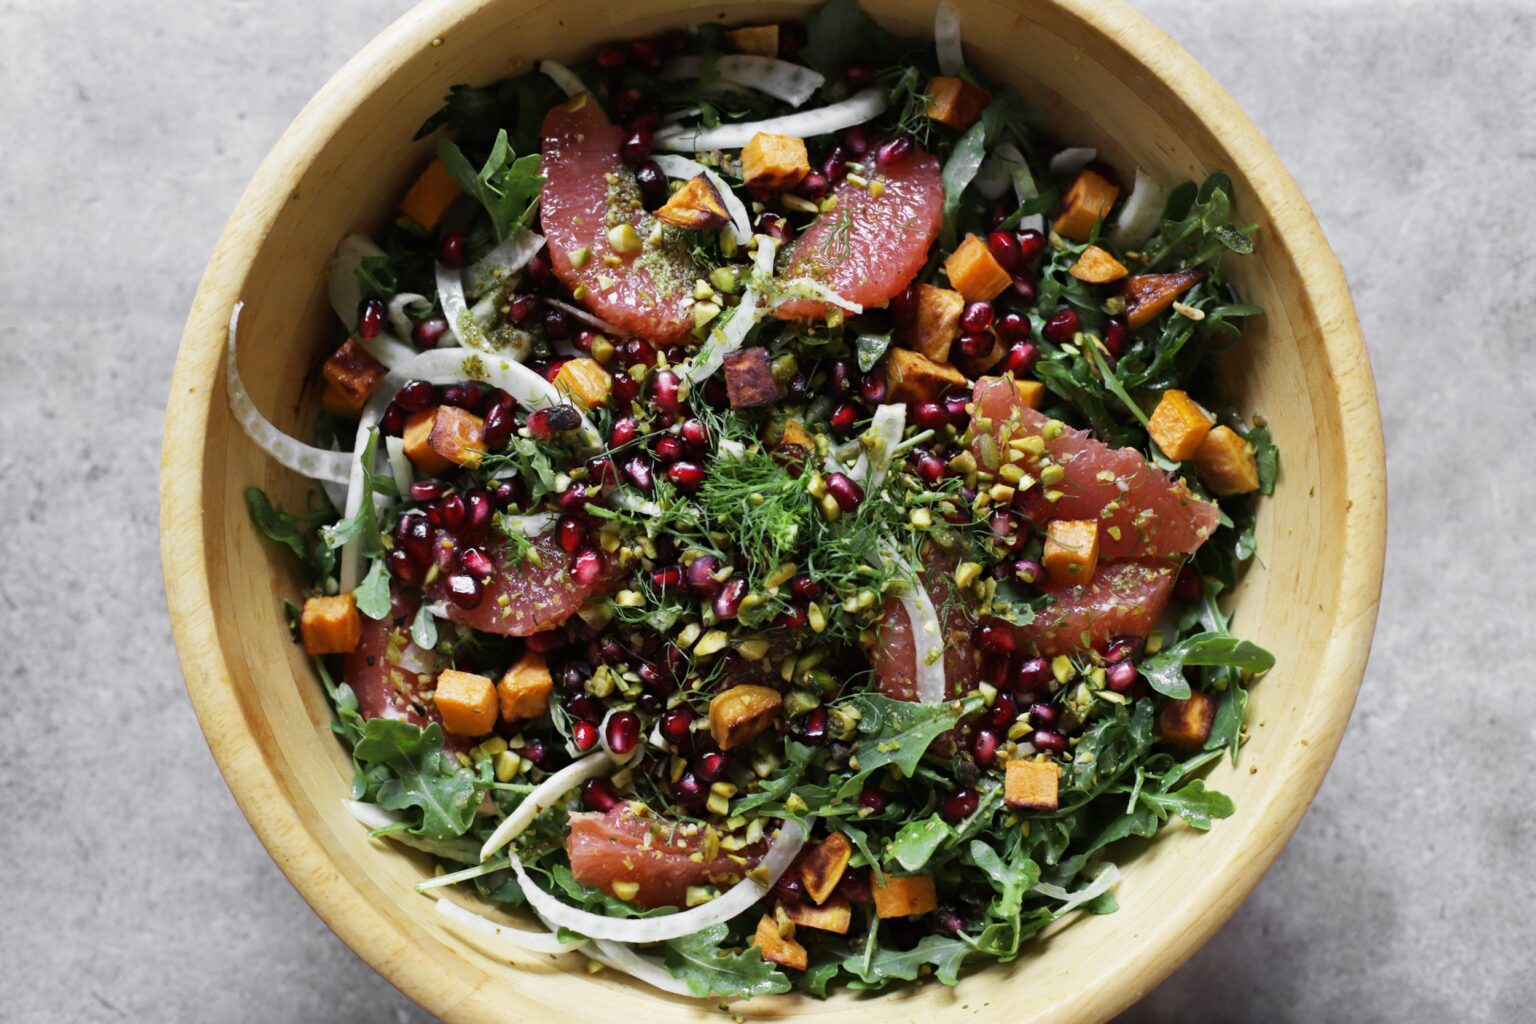
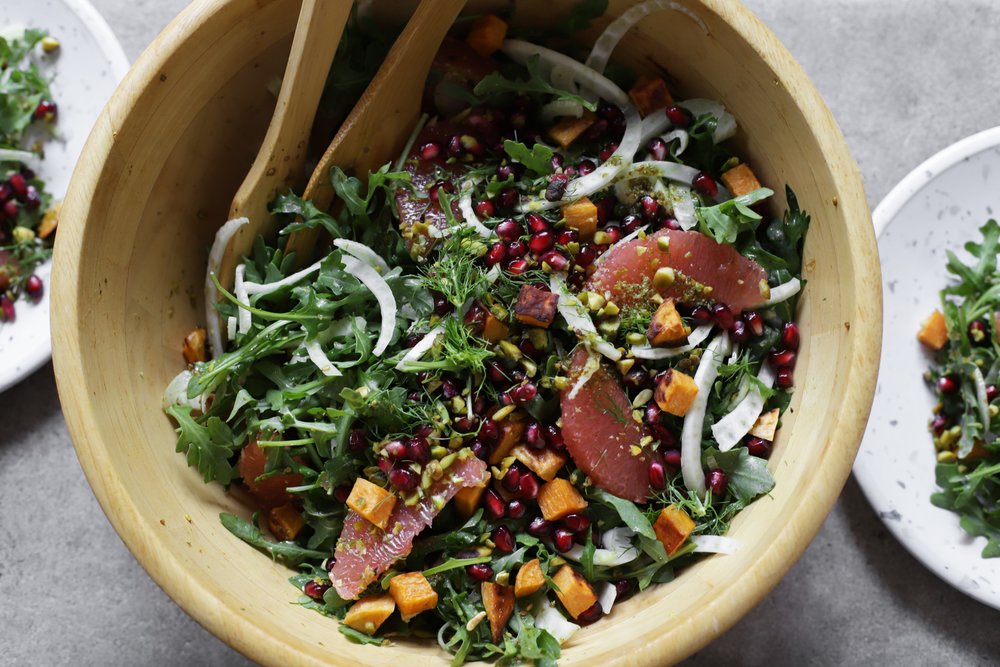
fennel salad with za’atar dressing


- Prep Time: 30 minutes
- Total Time: 1 hour
- Yield: 6 servings
Ingredients
- 1 large sweet potato, cut into 1/2-inch cubes
- Oil for coating the sweet potato
- Salt, to taste
- 1/4 cup extra virgin olive oil
- 3 tablespoons lemon juice
- 1/4 cup za’atar
- 1 teaspoon mustard
- a small 5.5oz/150g bag arugula
- 1 bulb thinly sliced fennel (save the fronds for garnish, if you’d like)
- 1 grapefruit, supremed
- 3/4 cup pomegranate arils, from 1 small pomegranate
- 1/4 cup chopped pistachios
Instructions
- Preheat the oven to 475°F/245°C. Lightly coat the sweet potato in a little bit of oil (about 1 teaspoon), and season with a pinch of salt. Spread evenly on a sheet pan or skillet, and roast for about 15-20 minutes, until crispy and slightly charred on the outside and soft on the inside.
- While you’re waiting on the sweet potatoes, prep the dressing and toppings. Whisk together the olive oil, lemon juice, za’atar, mustard, and salt to taste (about 1/4 teaspoon), and set aside. Place the arugula and half the fennel in a large salad bowl. Toss together with about 3/4 of the dressing until evenly coated.
- Top with the rest of the fennel, grapefruit, pomegranate arils, pistachios, roasted sweet potatoes, and the rest of the dressing (garnish with fronds if you have them). Toss together right before serving.
Notes
To make ahead: Roast the sweet potatoes, and prep all the salad components. Store things in a few separate containers in the fridge: 1) the arugula, 2) the dressing, 3) the raw fruits/veggies, 4) the roasted sweet potatoes. The pistachios can stay at room temperature. Assemble everything at the last minute, and serve.