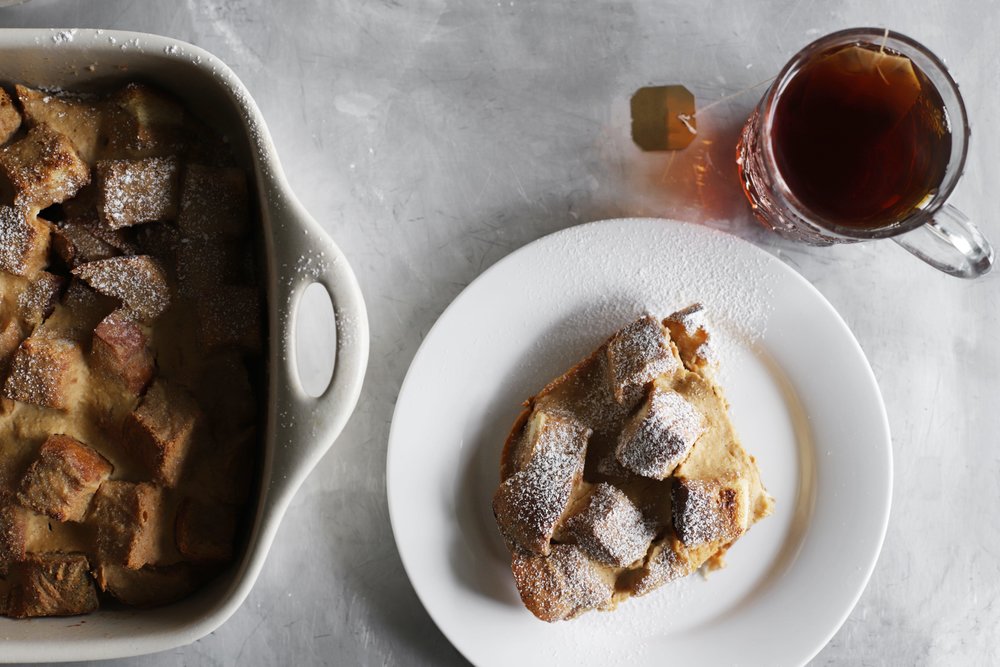
This french toast casserole is the perfect thing to make for New Year’s Day brunch (or any special brunch, any time of the year). It’s a bit carby and a bit caffeinated, and gives everyone a little extra energy for morning conversation. After an eleven year hiatus from caffeine, I’ve recently started drinking one cup of coffee or strong black tea every morning (which means the tea in Cardamom and Tea was actually decaf all along!), which has given me new appreciation for caffeinated breakfasts. This one is infused not only with tea, but also ground green cardamom.

Judging from the name of my blog, it might not surprise you that these are two of my favorite flavors to pair. In fact, I originally chose the name Cardamom and Tea because it reminds me of the smell of my grandparents’ house growing up. My grandmother would keep tie-top bags of ground cardamom and big boxes of black tea in her pantry, and the scent diffused through the whole house and made everything smell like chai. This French toast brings back all those childhood memories for me, and also reminds me of the pastries we would buy from the Swedish bakery and serve at special family breakfasts.
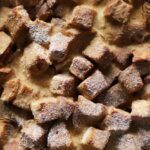
Like most recipes for French toast casserole, this one is super easy. You just toast the bread cubes, place them in a casserole dish, pour the liquid on top, let it sit for a few, and then bake until perfect. This easy formula works every time, but after writing this recipe, I do have some lingering questions. No matter how many other recipes I skim through, I just can’t seem to figure out if French toast casserole is just another name for bread pudding. I think it might be that French toast casserole often uses slices of bread instead of cubes. But I grew up with my mom’s recipe, which is most definitely cubed, and many recipes out there seem to agree that sliced bread isn’t necessary to qualify. I guess at the end of the day, the key difference is left completely up to your appetite—French toast casserole is meant to be eaten for breakfast instead of dessert. So enjoy this one first thing in the morning, gathered around table with everyone who deserves a slice!
cardamom and tea french toast casserole

- Prep Time: 20 minutes
- Total Time: 1 hour 20 minutes
- Yield: 8 servings
Ingredients
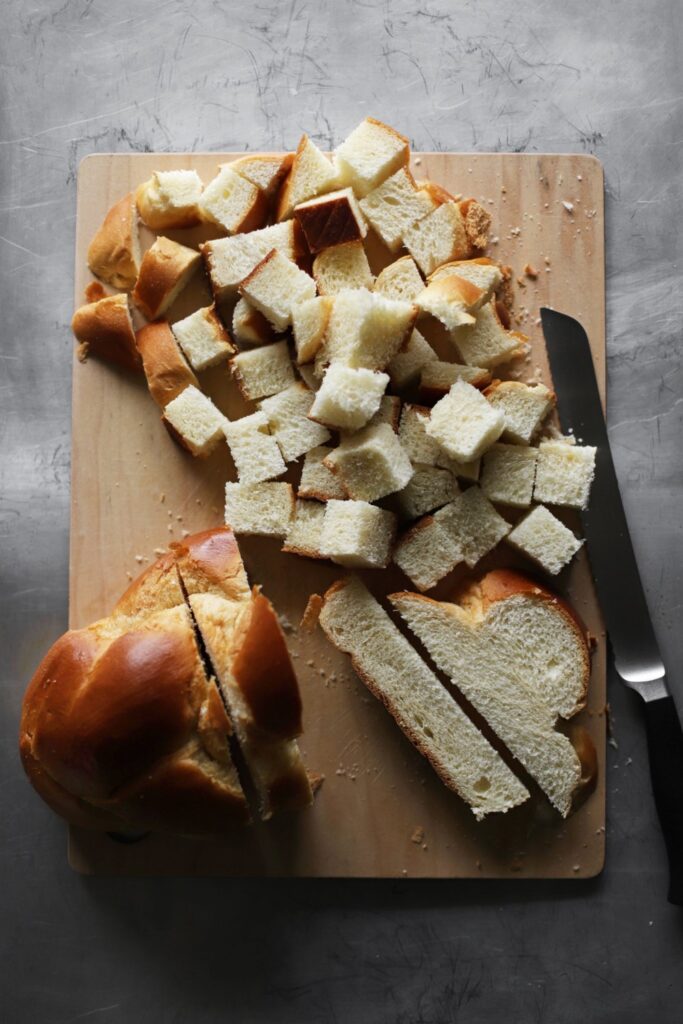
- 1 lb challah, cut into 1-inch cubes (450g)
- 1 3/4 cups whole milk (400g)*
- 6 black tea bags
- One 16-oz container ricotta (450g)
- 1/2 cup sugar (100g)
- 1/4 teaspoon cardamom (+ a tiny pinch more if you really love cardamom)**
- 1/2 teaspoon salt (3g)
- 3 large eggs (150g)
- Butter, for greasing the pan
- Cardamom-scented powdered sugar (½ cup powdered sugar + 1 pinch cardamom)
- Maple syrup, for the table
Instructions
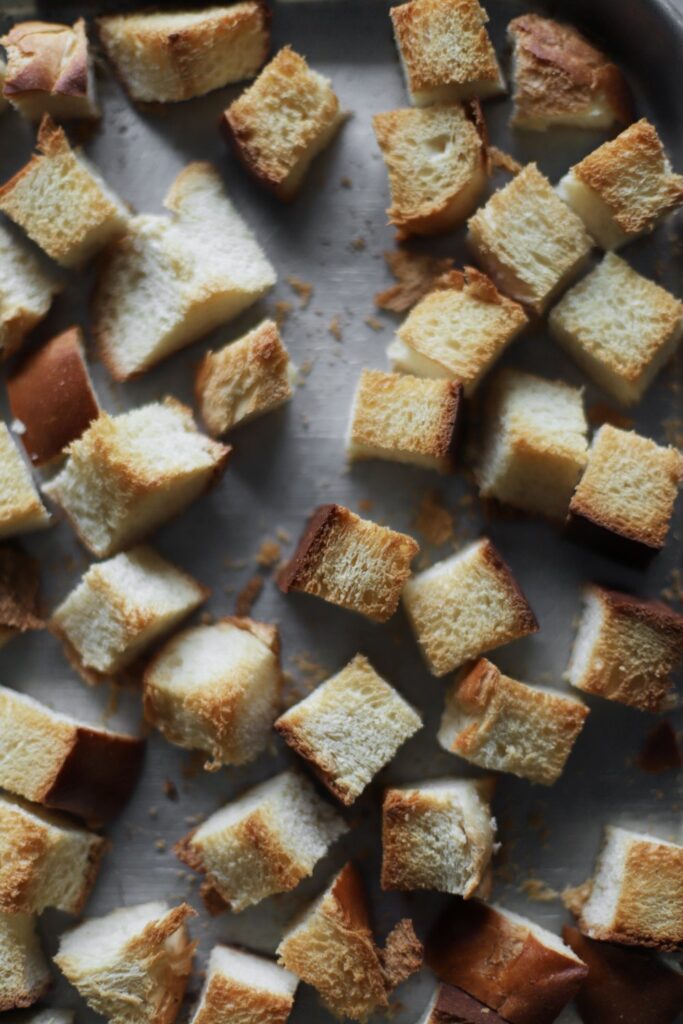
- Preheat the oven to 350°F (180°C). Spread the challah out in a single layer on a sheet pan, and bake for about 20 minutes, until they’ve dried out quite a bit, and have started to lightly brown (leave the oven on afterwards).
- While you’re waiting on the bread to toast: Bring the milk to a simmer on the stove or in the microwave. As soon as it starts rapidly simmering, remove from heat, add the tea bags, and let them steep for 7-10 minutes. Once they’ve steeped, remove the tea bags one by one, wringing each one out on the side of the bowl with the back of a spoon. Whisk in the ricotta, sugar, cardamom, and salt. Once combined, whisk in the eggs. Grease a 9×13” casserole dish.
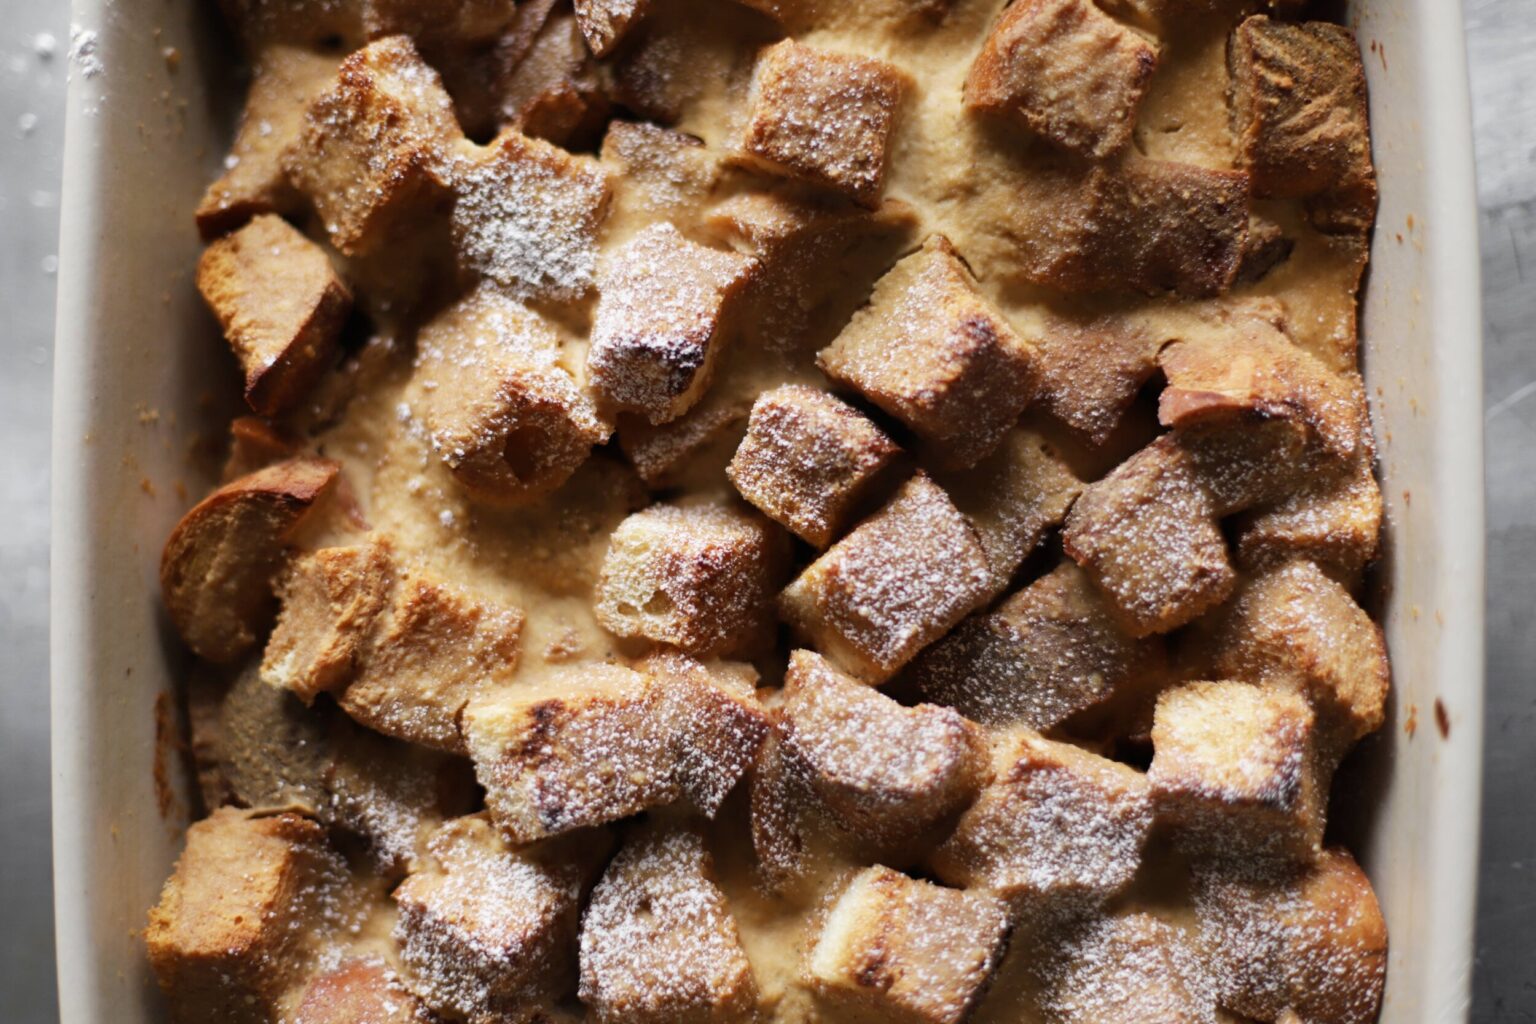
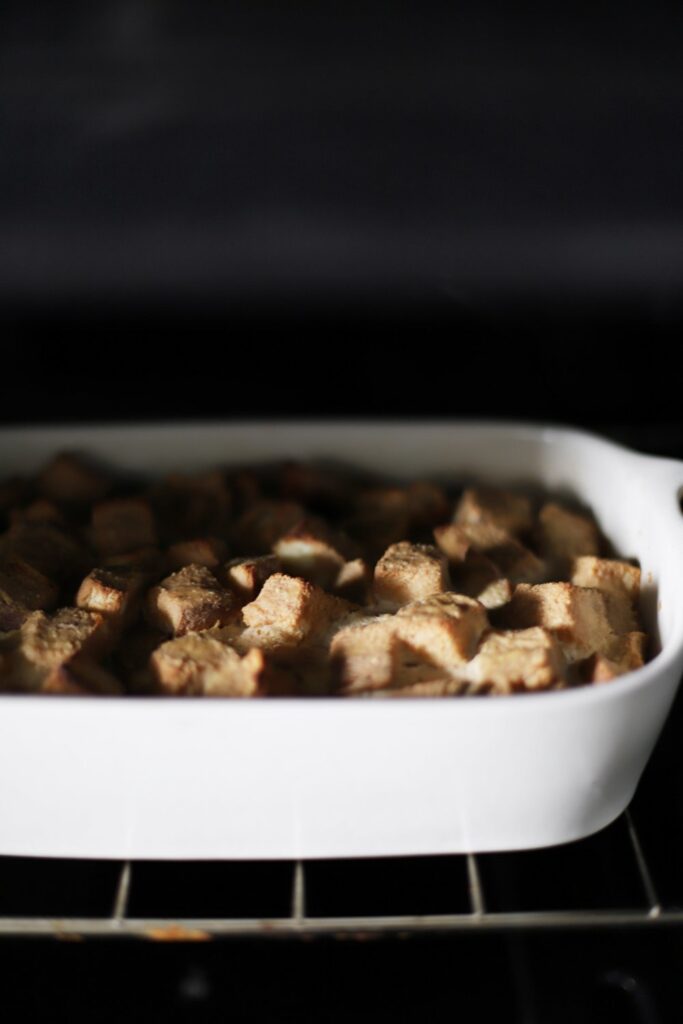
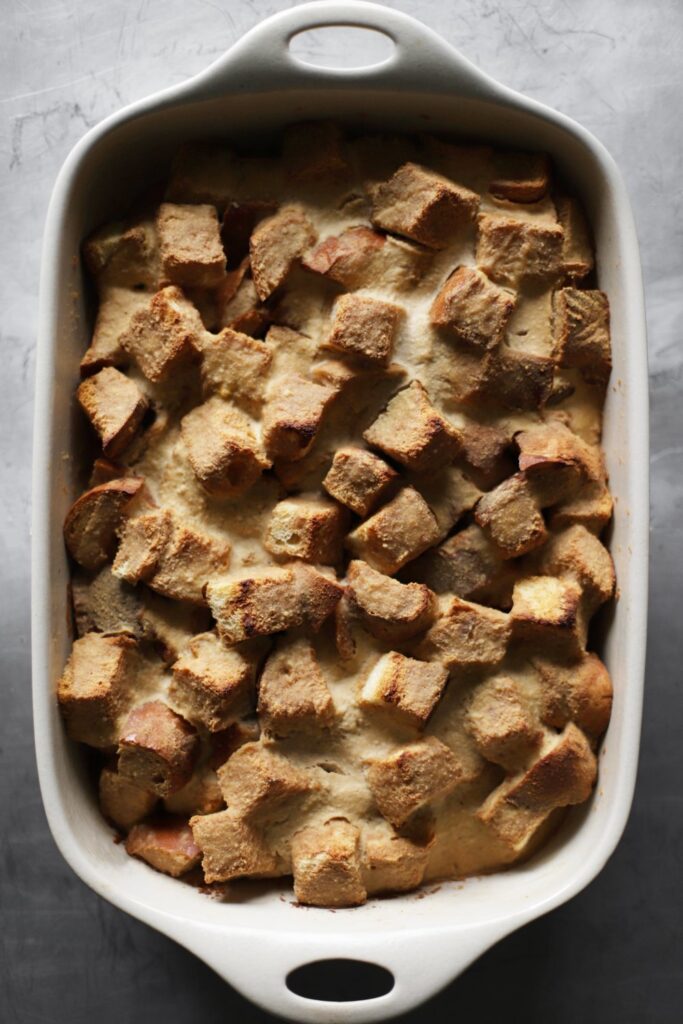
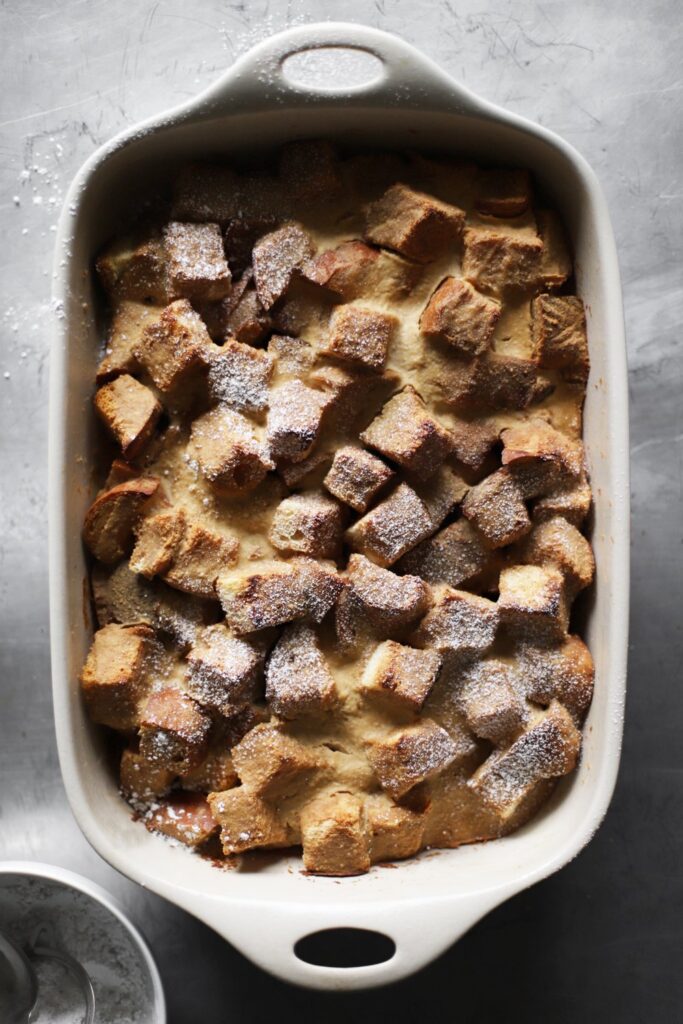
- Once the challah is dried out, place it evenly in the casserole dish, and then slowly pour the wet ingredients over the bread, making sure some liquid hits every piece of bread. Let it rest for 15 minutes before baking. Bake the casserole for about 35 minutes, until it’s set and hot in the center (insert a knife to check), and golden brown in spots.
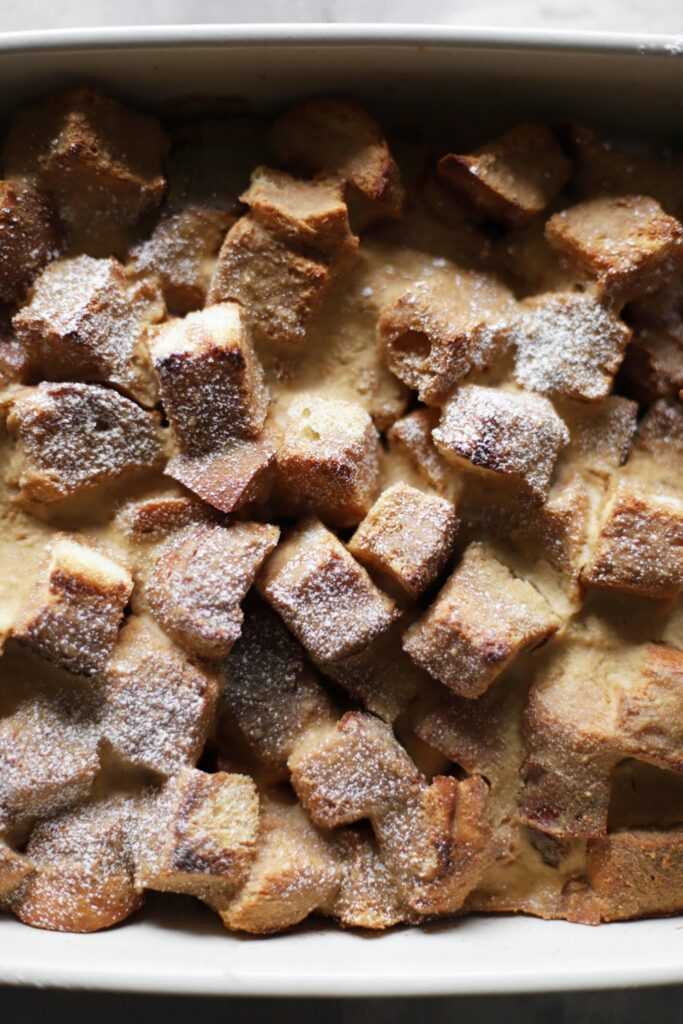
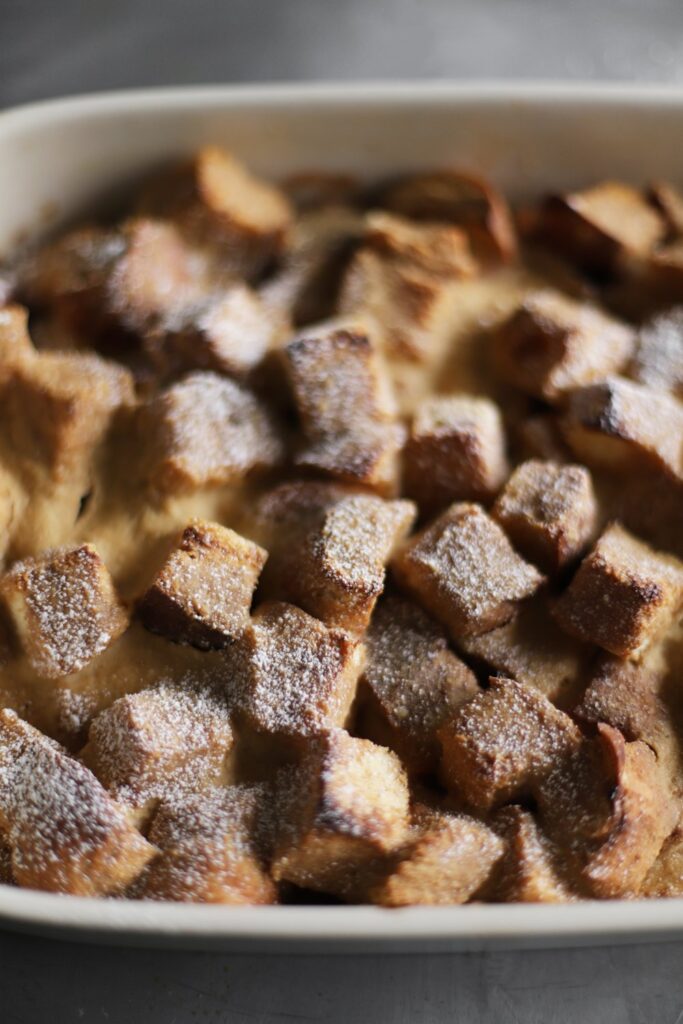
- Dust with powdered sugar and serve with maple syrup at the table.
Notes
* You can use half-and-half in place of all or some of the whole milk if you’re feeling like something extra-decadent.
** Cardamom should always be used with restraint, but feel free to use a little more if you really love its flavor. Just be careful not to go overboard (you can always sprinkle a little more in with the powdered sugar at the end).
To make ahead and store: The best way to make this ahead of time is to prep the two components, and then bring them together at the last moment. Combine the wet ingredients and store in the fridge for a day or two. Toast the bread cubes, and keep at room temperature in a sealed container (or the casserole dish, covered) for a day or two. When you’re ready to bake, preheat the oven, spread the bread cubes in a greased casserole dish, top with the wet ingredients, let it sit for 15 minutes, and proceed with the recipe.