• Skip to primary navigation
  • Skip to main content
  • Skip to primary sidebar
  • Skip to footer
Cardamom and Tea
  • Blog
  • Recipes
  • About
  • Cookbooks
    • Piecemeal
    • A Dish for All Seasons (my first cookbook)

The Best Orange Curd

June 26, 2026 by Kathryn Pauline Leave a Comment

orange curd

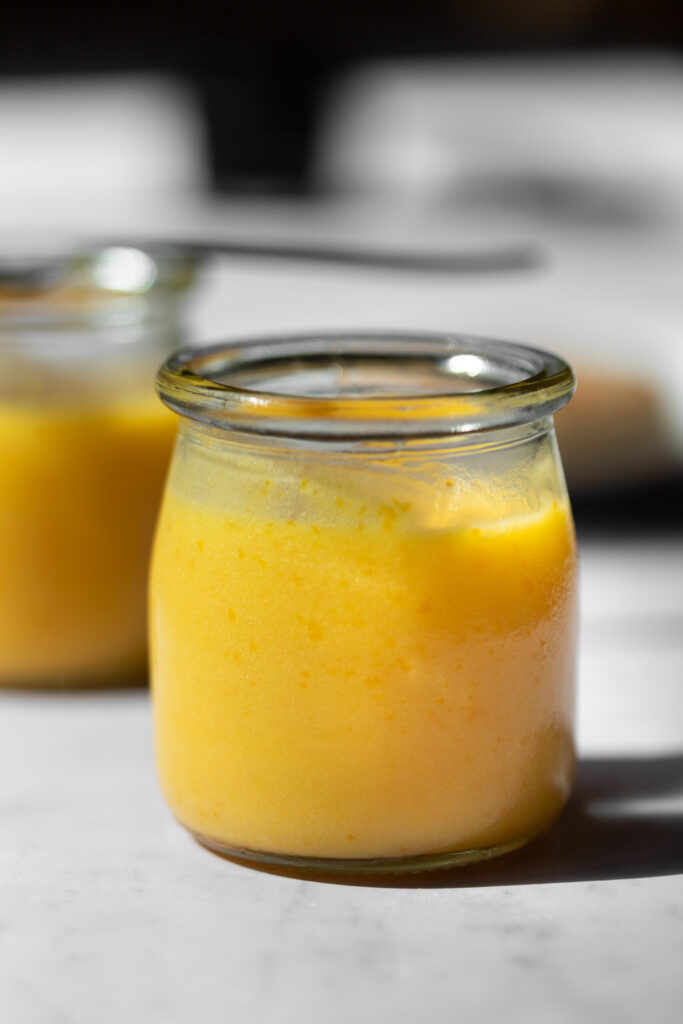
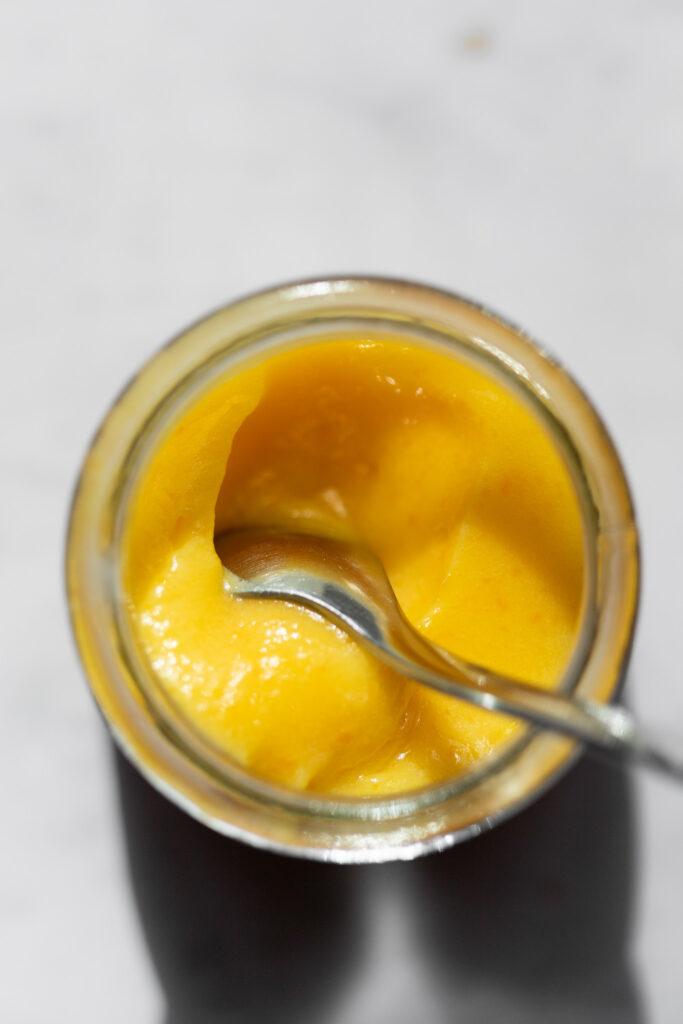
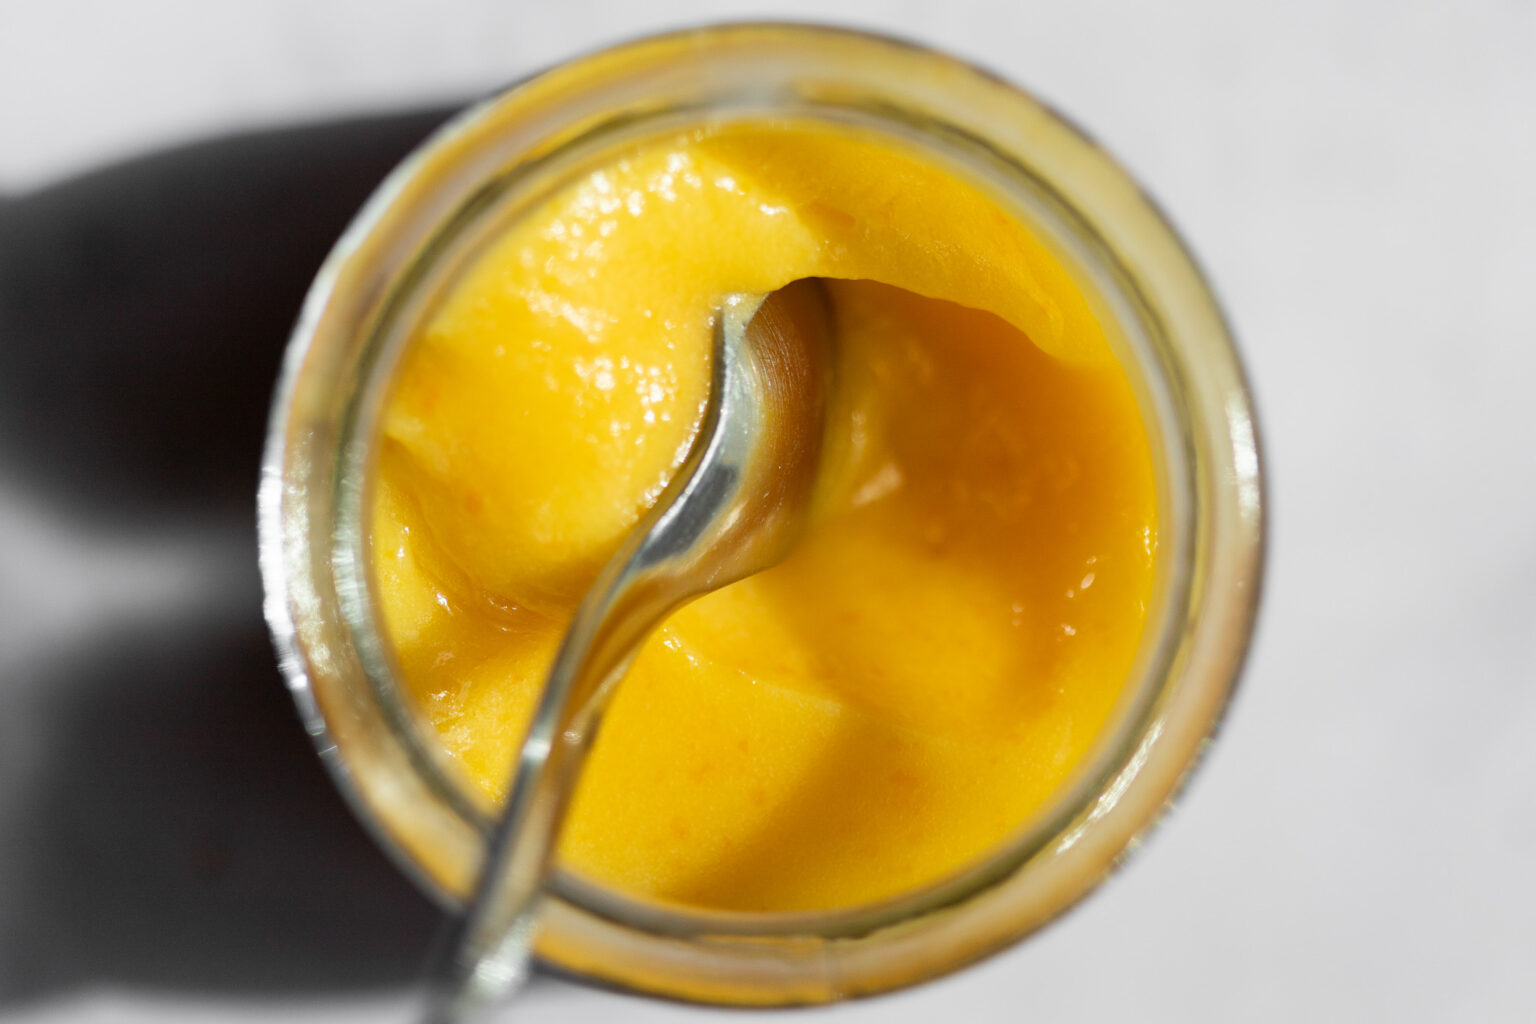
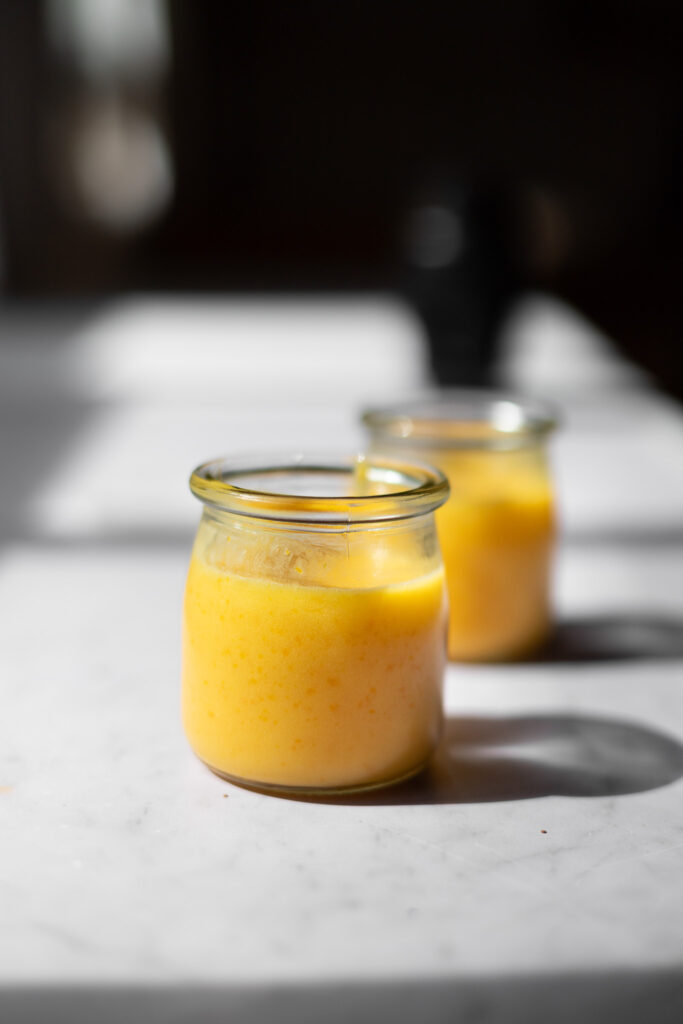
Of the 500+ recipes I’ve written, I think I’ve only titled something “the best” one other time. Best is a subjective term. But I really believe that for the best orange curd, you must not add orange juice (ever), and hopefully by the end of this post, you’ll agree.

Nearly all recipes for orange curd feature orange juice, which makes sense on the surface. But if you ask me, that’s the ultimate orange curd sin. Why? Because OJ waters down both flavor and tartness. Orange juice is somewhat flavorful and a bit tart, but it falls short on both counts. For flavor, we must reach for orange zest, which is where most of an orange’s flavor lives. For tang, we must reach for lemon juice. It is the only thing that packs a punch strong enough to give orange curd some much-needed zip. Why not just use both lemon and orange juice? Read on to get the answer, or jump to the recipe if you’re already convinced.

TL/DR: orange zest + lemon juice (+ 0 orange juice) = the best orange curd ever.
orange curd
orange curd

My 3 reasons for using 100% lemon juice (0% orange juice):

1. No, it doesn’t turn out too tart.

Don’t believe me? Think of it this way: If you were making a lemon curd, you’d use 100% lemon juice, and it would not be too tart. This recipe uses those same proportions as a standard lemon curd. So it is as tart as a lemon curd, but with a distinctly orange flavor instead. And that’s because…

2. Flavor is more concentrated in the zest, which makes this curd taste very orangey.

If you want something to actually taste like orange, you must use orange zest. Juice will add a bit of orange flavor, but zest adds so much more.

Orange juice does contain some orange flavor. So why not just add both orange juice and lemon juice? Well, there is a limit to how much liquid we can add, so we need to make sure every liquid counts! If we skip the orange juice, we can save 100% of our liquid budget for very-tangy lemon juice.

And don’t worry…

3. Flavor is less concentrated in juice, so this curd does not taste lemony.

The lemon juice in this recipe is just there for tang, and does not add a ton of lemon flavor. You might catch a note of lemon, but orange is the entiely dominant flavor.

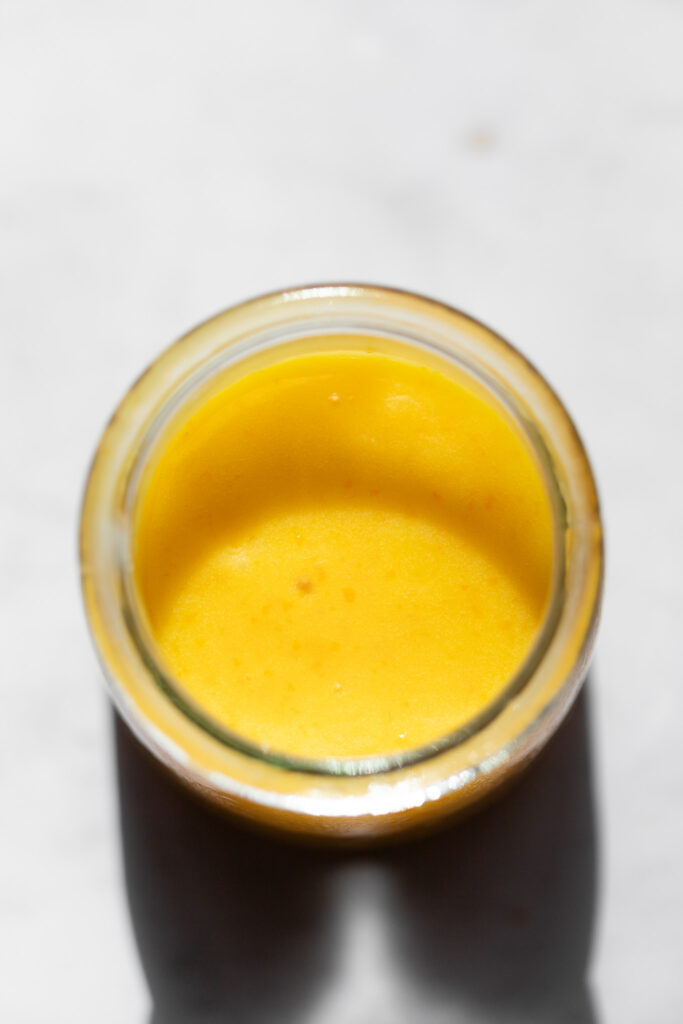
Perfectly tart, very orangey, not lemony. Now that’s a perfect orange curd.
orange curd
orange curd

What else I love about this orange curd recipe

The thing that makes it uniquely good is the lack of orange juice, but there are lots of other reasons to love it:

  1. It doesn’t require a double boiler. At least, for induction and gas stoves. If you’re using electric, you may want to use one to make sure it doesn’t curdle.
  2. It uses whole eggs instead of just egg yolks. Whenever I post about this, someone always says “but doesn’t it taste sulfury and eggy with those added whites?” But actually, egg yolks are far more sulfuric than whites—about 50-60% more! So no, it does not taste more sulfuric or eggier. It just tastes like a normal curd.
  3. You don’t need a thermometer to make it. If you watch the video in this post ahead of time, and then you pay very close attention to textural clues, you should be able to stop the cooking in time. Since we’re gradually reducing the heat as we go, it shouldn’t coast quickly past done, and you should have some wiggle room. Whisking in cold butter at the end helps to rapidly chill it, so just make sure your butter is nearby when you start.

Btw, if you want to make any citrus curd, my recipe uses all the same principles in this one. Grapefruit curd, mixed citrus, blood oranges—the sky’s the limit. If you can zest it, you can curd it.

Or check out my broader collection of curds if you’re looking for something like passion fruit or even hibiscus.

Print

The Best Orange Curd

orange curd
Print Recipe

5 Stars 4 Stars 3 Stars 2 Stars 1 Star

No reviews

  • Total Time: 15 minutes
  • Yield: about 1 1/2 cups

Ingredients

  • 2 large eggs
  • 3/4 cup [150g] granulated sugar
  • 2 Tbsp orange zest
  • 1/3 cup [80g] lemon juice*
  • 4 Tbsp [55g] unsalted butter, cut into 4 pieces

Instructions

  1. Add the eggs, sugar, orange zest, and lemon juice to a blender or large food processor. Run for about 20 seconds to mix thoroughly. It should have no visible streaks of egg white.
  2. Once the eggs have blended in completely, transfer to a small saucepan over medium-low heat. Whisk constantly until it thickens significantly, being careful not to let it overheat and lower the heat gradually as it progresses. It will thicken at about 167 to 170°F [75 to 77°C], which takes about 10 minutes** to reach. Do not let it exceed 180°F [82°C].
  3. As soon as the curd thickens, remove from heat and immediately add the butter and whisk constantly until the butter melts completely.
  4. Chill completely.***

Storage: Store it in the fridge for 5 to 10 days, or in the freezer for much longer. In my freezer, it stays soft enough to scoop and lasts for months.

See the lemon curd video in this post for an example of how you might use this recipe. If the video does not appear in the intro, please disable ad block.

Notes

* This is not a typo—we’re using 100% lemon juice (0% orange juice) so that our curd turns out tart instead of bland and watery. We get all the orange flavor we need from the orange zest. See the whole explanation above the recipe if you’re curious how this works.

** This recipe is written for gas. If using induction, it will likely move much more quickly than this. If using electric, you may want to use a double boiler for this (if you do not, please note that times will vary wildly and unpredictably, and your curd may, well, curdle!)

***If you’re using this in a fruit tart (or something where you want it to set up in the baked good rather than in the jar), pour it directly into the baked shell while the curd is still hot and then chill the whole thing.

Video note: If you don’t see the video for this post after scrolling up, please disable ad block and try reloading the page.
find us on instagram and let us know what you made!

Filed Under: breakfast, every recipe, sweets Tagged With: citrus, curds, eggs, lemon, orange

Earl Grey Shortbread

June 20, 2026 by Kathryn Pauline Leave a Comment

earl grey shortbread

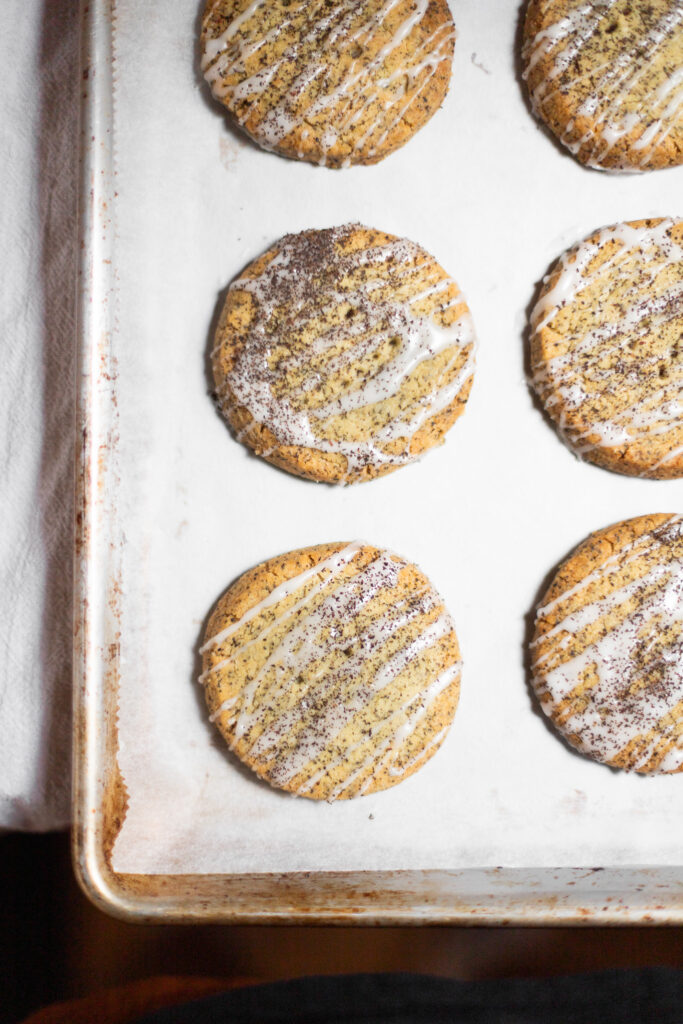
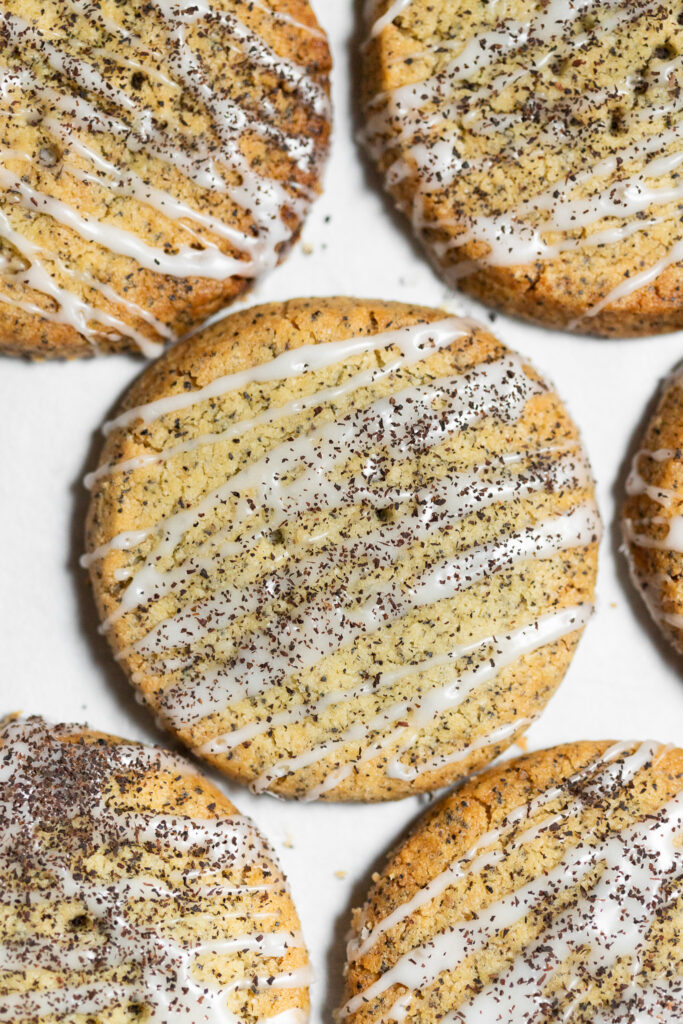
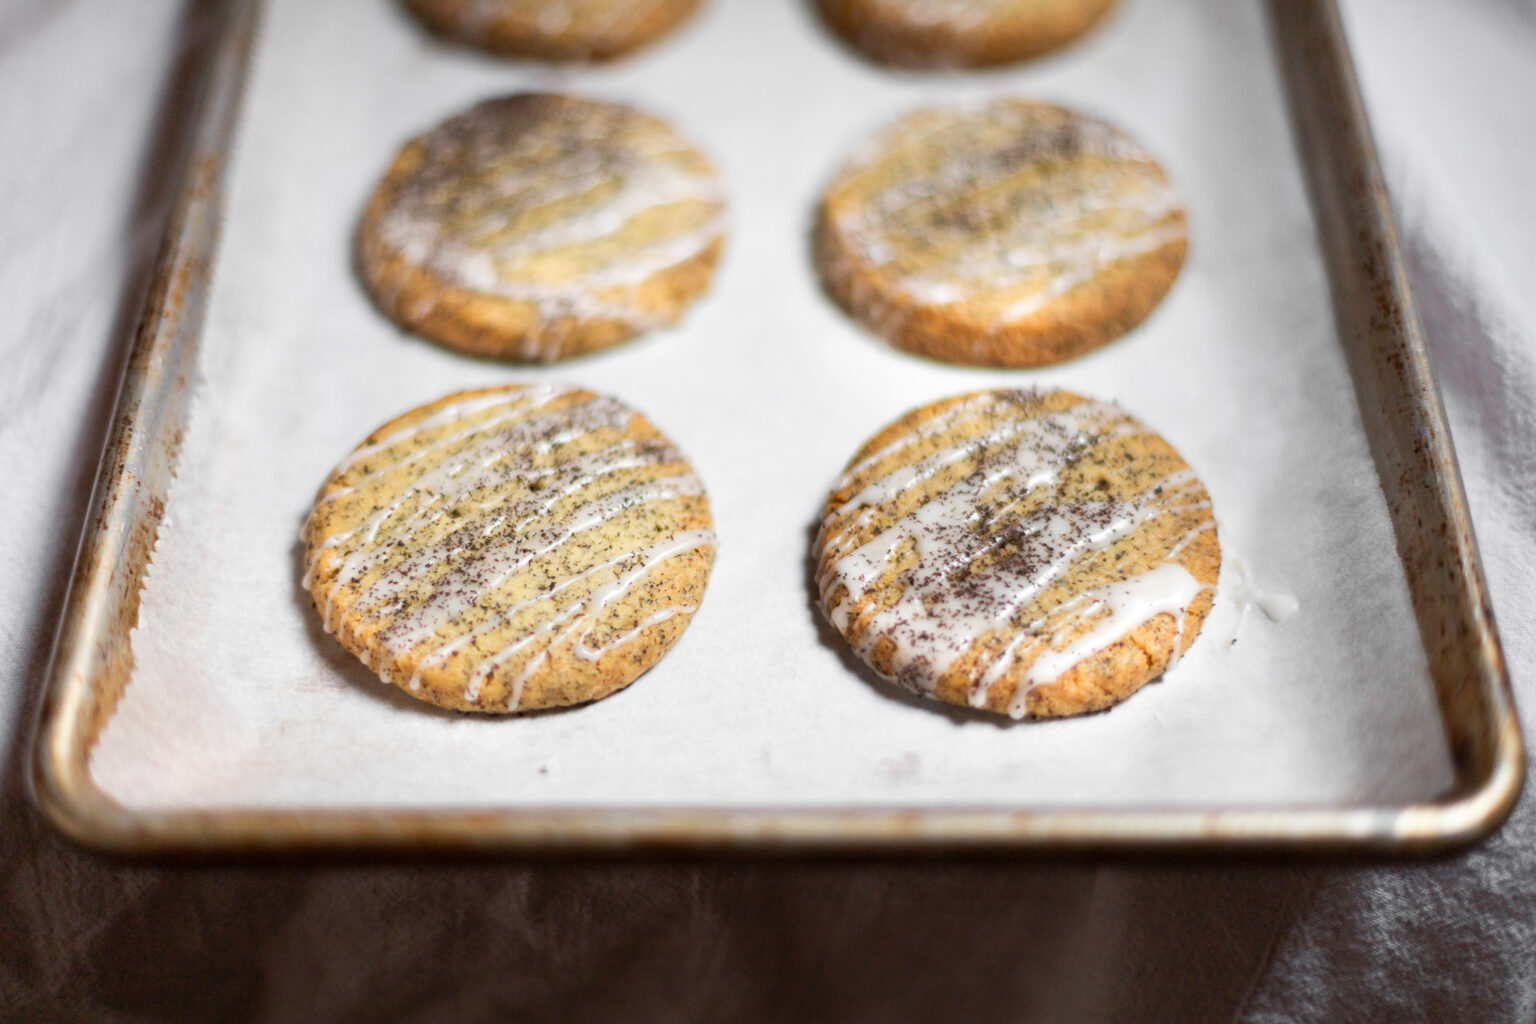
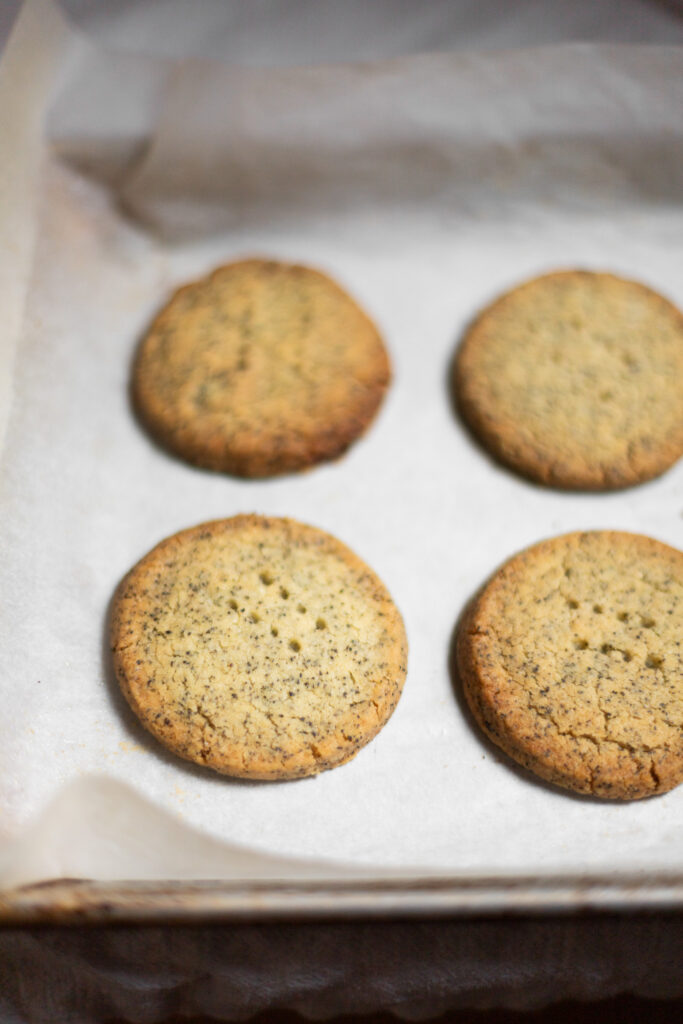
If you’re looking for an earl grey shortbread that’s not too sweet, this is the one for you. It’s got just enough sugar to qualify as a cookie, but not so much that it veers away from shortbread into sugar cookie land. If you want something a bit sweeter, you can always add the optional icing at the end, and sprinkle on some additional tea leaves to make sure everyone know’s what’s inside.

This recipe does a few things differently, which I’ll highlight below. But if you’re ready to get to baking, jump to the recipe.

earl grey shortbread

What makes these earl grey shortbread unique

1. We mix the tea with the butter (rather than the flour).

The best earl grey shortbread recipes combine the tea leaves with the butter, rather than adding them to the flour. This allows the flavors to meld a bit before they go in the oven.

2. It has a decent amount of salt.

In my experience, most shortbread recipes don’t use enough salt. Shortbread should definitely be sweet, and it shouldn’t taste salty like a potato chip or something, but it should definitely have a bit of a sweet-and-salty edge.

3. It pushes them to golden brown, not pale.

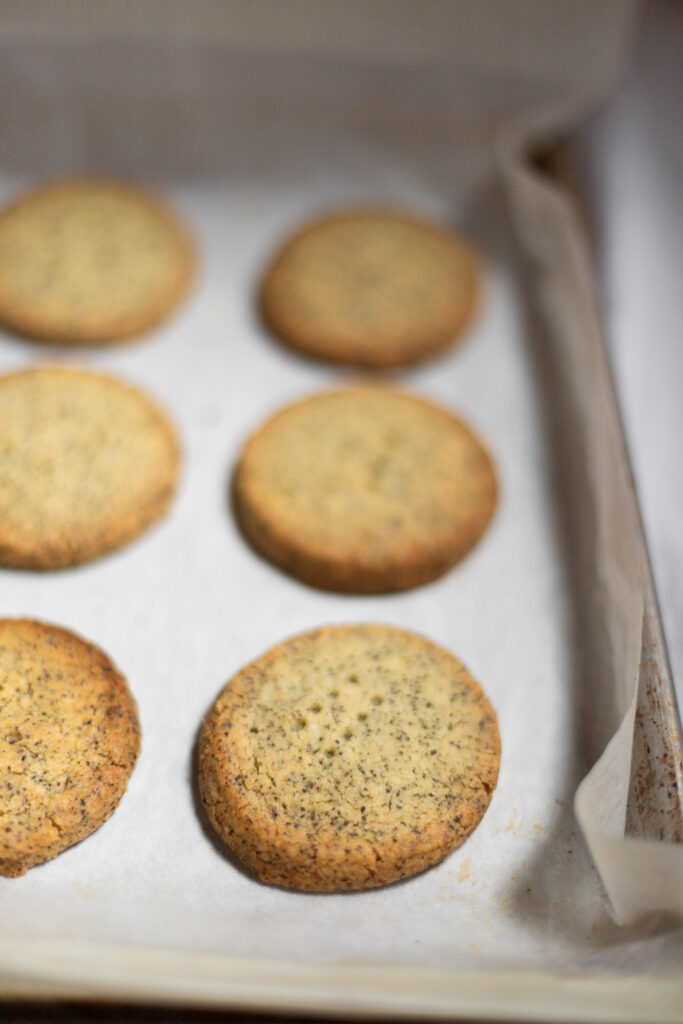
I’m of the 101 cookbooks school of thought: I bake my shortbread all the way to golden brown. This doesn’t mean that they will be uniformly golden brown. Shortbread does not really bake that way—it’s composition is very different from, say, chocolate chip cookie dough. Instead, it will turn golden brown around the edges and on the bottom.

Keep a very close eye on them, especially if you’re baking this recipe for the first time. They will go from pale to overdone somewhat quickly. Even a well-calibrated oven will conduct heat a little differently. Once you figure out the timing that works in your oven, you can take it a little easier the next time. Your oven might have hot spots (mine has one hot corner), which you should also keep an eye out for.

4. Just sweet enough.

This recipe is just sweet enough. Shortbread is all about the butter, less about the sugar.

earl grey shortbread
Print

Earl Grey Shortbread

earl grey shortbread
Print Recipe

5 Stars 4 Stars 3 Stars 2 Stars 1 Star

No reviews

Ingredients

  • 2 sticks [226g] unsalted butter,* softened to room temperature
  • 1/3 cup + 1 Tbsp [80g] granulated sugar
  • Leaves from 5 earl grey tea bags
  • 3/4 tsp salt
  • 2 cups [260g] unbleached all-purposed flour
  • Optional decoration: royal icing (1 Tbsp milk mixed with about 2/3 cup powdered sugar) and extra earl grey tea

Instructions

  1. Place the butter, sugar, tea leaves, and salt in the bowl of a stand mixer fitted with the paddle attachment. Beat at medium speed for about 2 minutes until lighter in both texture and color.
  2. Add the flour to the butter mixture and mix on low speed, just until it forms a soft dough. Scrape the bottom and mix a few times by hand to make sure it’s fully incorporated.
  3. Place a sheet of parchment paper on the counter and dump the dough onto the sheet.** Place another sheet of parchment paper on top. Gently press the dough into a rough rectangle, and then roll it out between the two sheets of parchment paper. Stop once it is an even 1/2 inch [13mm] all over.
  4. Place the sheet of dough in the refrigerator for 1 hour (or the freezer for shorter).
  5. Preheat your oven to 350°F [180°C] toward the end of the dough’s chill time.
  6. Once the dough has completely firmed up in the refrigerator, gently peel off the top layer of parchment. Stamp out as many rounds of shortbread as you’d like.*** Optionally prick in the middle with a fork once or twice.
  7. While they are still very cold,**** move the rounds to a parchment-lined sheet pan with 1 inch [2.5cm] between each and bake for about 20 minutes. They should be nicely browned around the edges and on the bottoms, while the tops should be turning light golden brown. Use this visual cue more than the time, peeking through your oven window often—many factors can affect the speed at which they bake (e.g., how thinly you roll them out, the size stamp you use, etc.).
  8. Slide the parchment off the pan and cool directly on the parchment.*****
  9. Re-roll the scraps and repeat the process, chilling completely before stamping and baking.
  10. If using decorations, drizzle the shortbread with icing and sprinkle with a little more tea.

Notes

* I used European butter to develop this recipe because it is the best kind of butter to use for shortbread (it has a lower moisture/higher fat composition). If you don’t have access to European butter (e.g., Kerrygold), you can use standard US butter instead, but your shortbread might be a bit tougher and crumblier and may spread more.

** If you’d rather go with the sliced log method, shape into a log in the parchment paper this way. Despite the title of the article I just linked to, it will never be perfectly round if you go with the log method. But it works well. Instead of stamping out circles, just chill the log completely and then slice off 3/4-inch rounds.

*** I used a 2 1/4 in [57 mm] round to test this recipe—if yours are smaller or larger you may need to adjust the bake time slightly. Also shorten the bake time if you roll yours out thinner than the recipe suggests. If you’re not using a ruler, I highly recommend keeping a close eye on them so they don’t get too toasty.

**** If they have lost their chill, move them to the freezer for a few minutes before baking. They should be solid when they go in the oven, or they will spread and thin out.

***** Shortbread is the kind of thing that tastes really weird right out of the oven and really good after cooling. They should have a crunchy texture once cooled, but they’ll taste oddly dry, mealy, and crumbly while still cooling down. Shortbread is not like a chocolate chip cookie, which is perfect and gooey right out of the oven. Give them a few minutes before taking a bite (or at least before making up your mind).

Video note: If you don’t see the video for this post after scrolling up, please disable ad block and try reloading the page.
find us on instagram and let us know what you made!

Filed Under: every recipe, sweets Tagged With: cookies and bars, icing, tea

  • « Go to Previous Page
  • Page 1
  • Page 2
  • Page 3
  • Page 4
  • Interim pages omitted …
  • Page 188
  • Go to Next Page »

Primary Sidebar

Kathryn Pauline smiling

Welcome! I’m Kathryn Pauline, cookbook author, recipe developer, and photographer.

What’s new? 🥕

cherry muffins

Cherry Muffins

orange curd

The Best Orange Curd

earl grey shortbread

Earl Grey Shortbread

hummus bowls

Easiest-possible Hummus Bowls

sliced brown butter banana bread

Brown Butter Banana Bread

egg-free chocolate chip cookies

Eggless Chocolate Chip Cookies

Footer

read our privacy policy

© 2017 - 2026 Kathryn Pauline