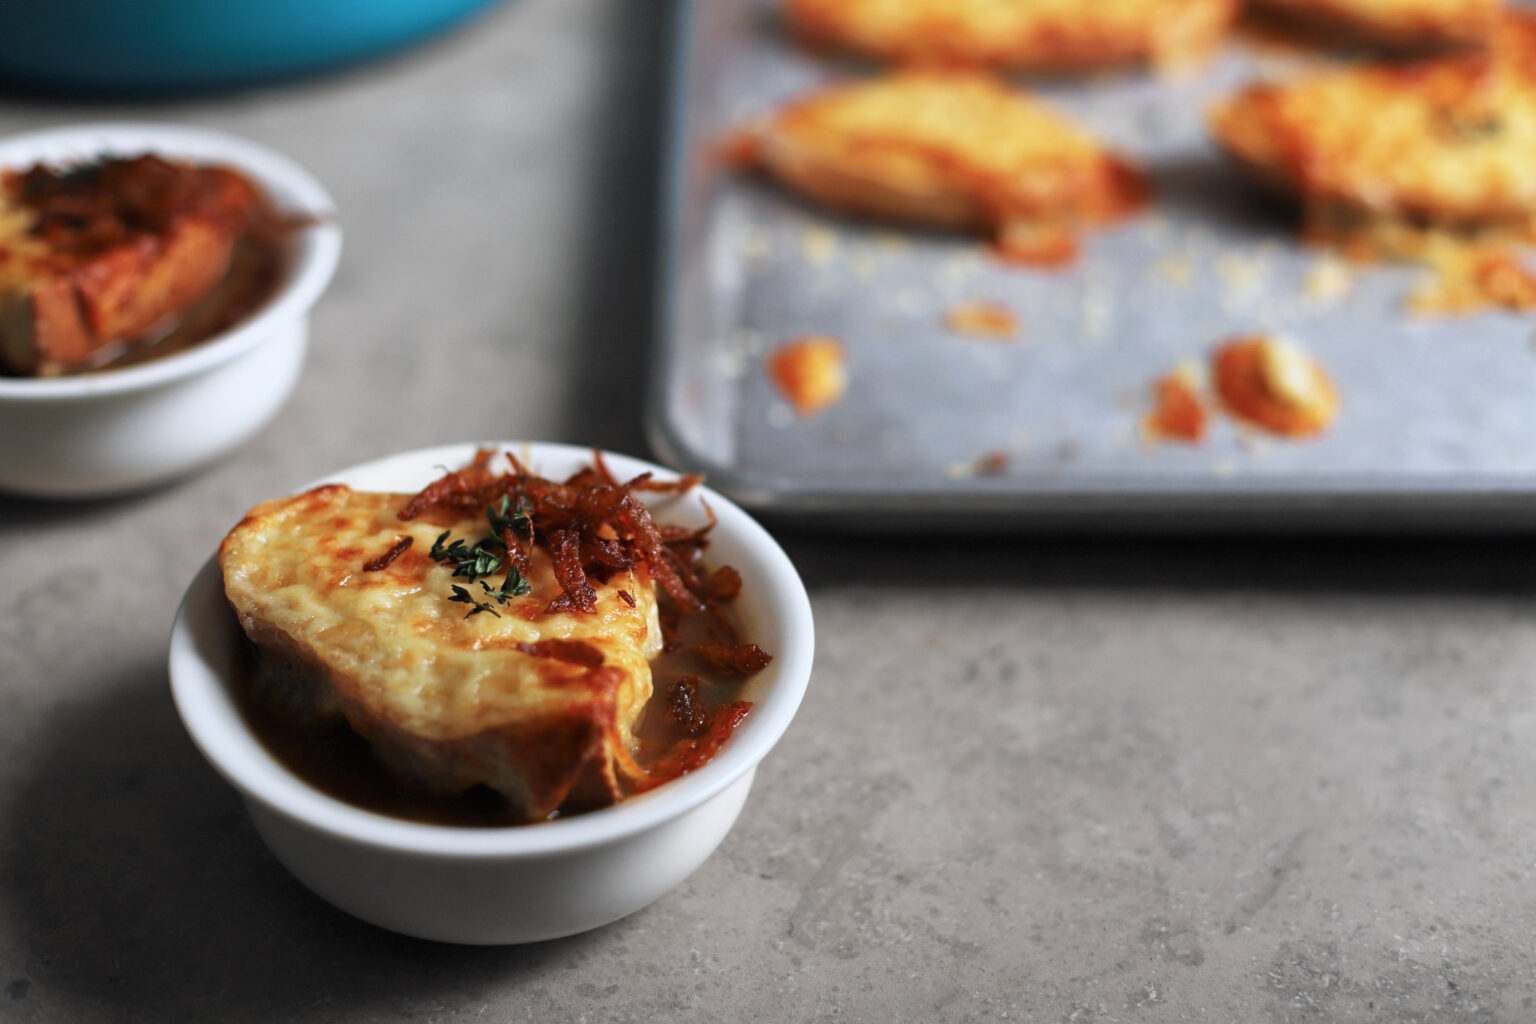
As you might notice if you browse my recipes, French bistro food isn’t really my style. It’s just not something I usually find inspiration in, and while I totally get the appeal, I just don’t personally crave it. But despite this ennui, even I can’t resist a bowl of French onion soup. What’s not to love about a cheesy croûte on top of caramelized onion soup?
Underneath all that cheesy bread, I think it might just be my one exception because the flavors remind me so much of mujadara, one of my favorites. Mujadara is simply lentils and rice with a ton of caramelized onions, sometimes served with yogurt and crispy fried onions on top. And as it happens, adding lentils to French onion soup turns it into much more of a vegetarian main, sprinkling on crispy fried onions is just the thing to send it over the top, and blending za’atar with fresh thyme strikes the perfect balance between the two dishes. I channeled my inner Julia Child for this one (though I’m still not sure if she’s in there), and I hope you enjoy it on one of these chilly winter evenings. Brr!


Before I leave you with the recipe, let me just tell you how excited I am that yesterday was my blog’s second anniversary! This time last year, I wrote a bit about how difficult it is for me to recover from a disastrous recipe developing day, and I’m proud to say that I’ve had a record low number of pity parties this year. If I’m being totally honest (and probably also if you ask my family), I haven’t actually gotten much better at taking recipe developing disasters in stride, but I’ve become better at avoiding them in the first place, and productively working through them when they happen.
In my first year of blogging, there were so many times that I’d make something, it wouldn’t go well, and I would have no idea how to fix it and move forward. I’d head to the kitchen the next day with a fuzzy idea of what to do differently, and things would go even worse. Or I would come up with a half-baked idea, not spend enough time fleshing it out before heading to the kitchen, and then (shockingly! hah) it wouldn’t pan out. Of course, these failed experiments never made it onto the blog, which meant that I had to work that much harder before stumbling into a recipe I was actually excited to share with you guys. I’m proud of everything that made it onto the blog in my first year, but sheesh—I did not get there in the most efficient (or mentally healthy) way possible.
But now, I feel so much more prepared whenever I start working on a new idea. And when things don’t go right, it’s become so much easier to figure out what went wrong and how to fix it. I’ve learned so much since starting, especially this last year, and I hope to keep challenging myself, learning, and growing this year. So I guess—resolution met! Kind of! Maybe I can work on the mindfulness side of the equation this time, and try to take on a more blissfully enlightened, easygoing, no-worries kitchen persona when things go wrong. Probably not, but I’ll check back in with an update next February.
Overall, it’s been a rewarding year! I wrote and posted seventy-six new recipes, I was nominated for a Saveur award in the best food culture blog category, I got involved with the Cook for Syria movement and contributed a recipe to the Bake for Syria book, and I’ve just recently started thinking about next steps and new projects. One project is way too early on to really talk about in detail, but I’ll just say that I’m having so much fun with the research stage, which has involved interviewing my Middle Eastern/North African chef/food blogger friends and spending all day thinking about, cooking, and researching one of my all-time favorite foods. Can’t wait to see what becomes of it. But in any case, I have a feeling this is going to be a good year, and I can’t wait to share some of my favorite new recipes with you here.
mujadara-inspired French onion lentil soup


- Prep Time: 40 minutes
- Total Time: 1 hour 15 minutes
- Yield: about 8 servings
Ingredients
for the french onion lentil soup:
- 4 tablespoons butter
- 3 pounds onions, thinly sliced (about 5 to 6 medium onions)
- 1/2 teaspoon salt, plus more to taste
- 2 cloves garlic, crushed through a press or finely minced
- 2 tablespoons flour (optional)
- 1/2 cup dry red wine (feel free to substitute more broth if you can’t have wine)
- 8 cups vegetable broth
- 1/4 teaspoon black pepper
- 1/2 teaspoon rubbed sage
- 1/2 teaspoon dried thyme or za’atar (or an equal amount fresh thyme)
- 3/4 pound green or brown lentils, sorted and rinsed
for the fried onions:
- 1 cup neutral-flavored oil (canola oil or refined olive oil—not extra virgin—works great)
- The set-aside golden-brown caramelized onions (from above)
for the croûte:
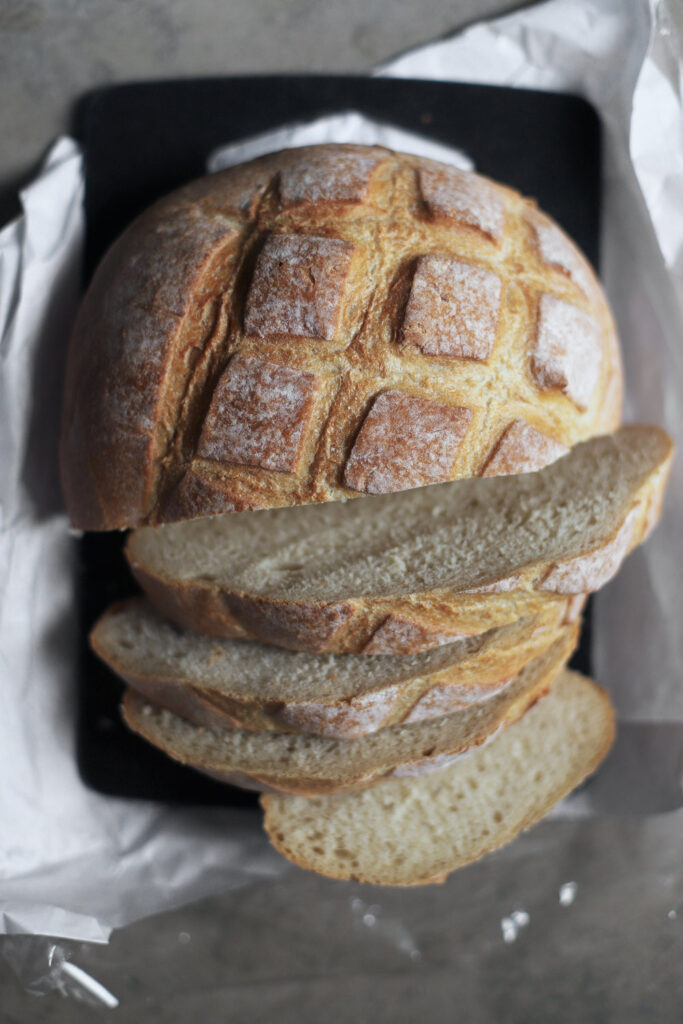
- 1 French boule (or another loaf of crusty bread), cut into thick bowl-width slices (about 400-450g)
- Butter
- 8 ounces sliced or grated melting cheese (swiss, mozzarella, gruyere, etc.) (or 12 oz. if you want stretchy gobs)
- 1/4 cup finely grated parmesan cheese
- (optional) thyme for garnish
Instructions
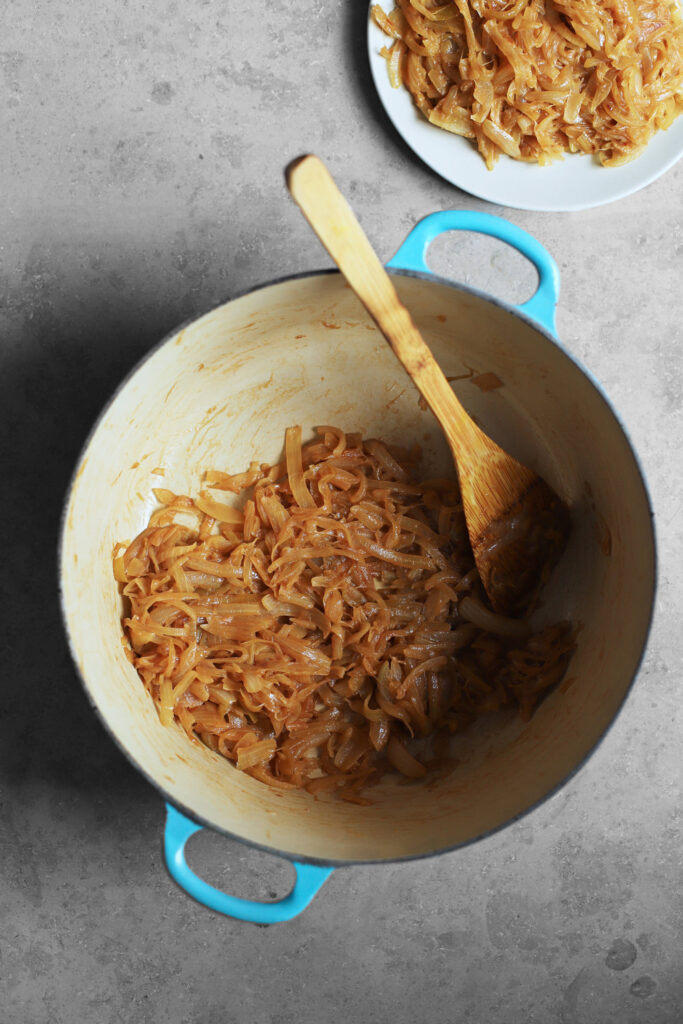
- Make the soup: Place the butter in a large dutch oven and set over medium-high heat. Once the butter has melted, swirl to coat and add the onions and 1/2 teaspoon salt. In the first couple minutes, you’ll want to keep them moving to help them wilt. After about 5-10 minutes, you’ll notice the bottom of the pot gathering a brown film. Scrape it up with your wooden spoon (preferably flat-edged) and let the onions absorb the brown bits. Let the onions sit for a couple minutes, until the brown film shows up again—scrape it up again and give the onions a stir.
- Continue to caramelize the onions this way, scraping the brown bits from the bottom whenever they accumulate. Control the heat so the bottom doesn’t burn. Toward the end, you may need to reduce the heat to medium to keep the onions from burning. *
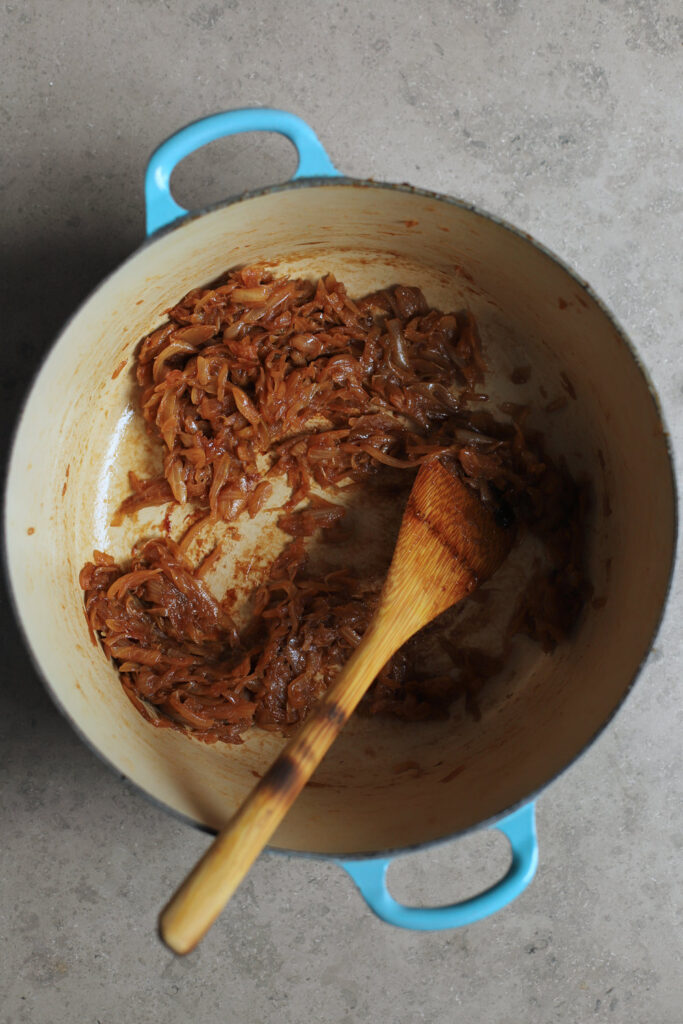
- Once the onions are very soft and golden brown (after about 25 minutes), remove 1/3 of them to a plate, and continue cooking the rest for about 10 more minutes, until they’re deeply brown. You’ll need to stir more frequently in these last 10 minutes, and you might need to occasionally deglaze the bottom with a couple teaspoons of water if it’s too hard to scrape up.
- During the last minute or two of caramelizing, add the garlic and stir for just 1-2 minutes.
- Lower the heat to medium-low, add the flour, and cook stirring constantly for about 2 minutes.
- Add the wine and scrape any bits still stuck to the bottom of the pan. Stir in the broth a little at a time while whisking, until the mixture smooths out a bit, then add the rest of the broth, black pepper, sage, thyme, and lentils and increase the heat to medium-high. Tate and adjust the seasoning if necessary.
- Once it comes to a boil, cover, reduce heat to medium-low and cook for about 15 to 25 minutes. Once the lentils are done (no longer mealy, but not yet mushy), remove from heat (it’ll stay warm if covered for about 30 minutes). Taste and season a little more if necessary.
- Fry the set-aside onions: Heat the oil in a skillet over medium-high heat until an onion sizzles when dropped in (about 5 minutes). Carefully add a scoop or two of the reserved caramelized onions and use tongs to spread them out into a single mostly submerged layer.
- Cook, stirring every minute or so, for about 3 to 5 minutes until crispy-chewy and deeply golden brown (control the heat to make sure they don’t burn). Before they burn or become too brittle, remove them with a slotted spoon to a paper-towel-lined plate, and then add a couple more scoops of the onions to the pan, working in batches until they’re all done. Discard the remaining oil after it cools.
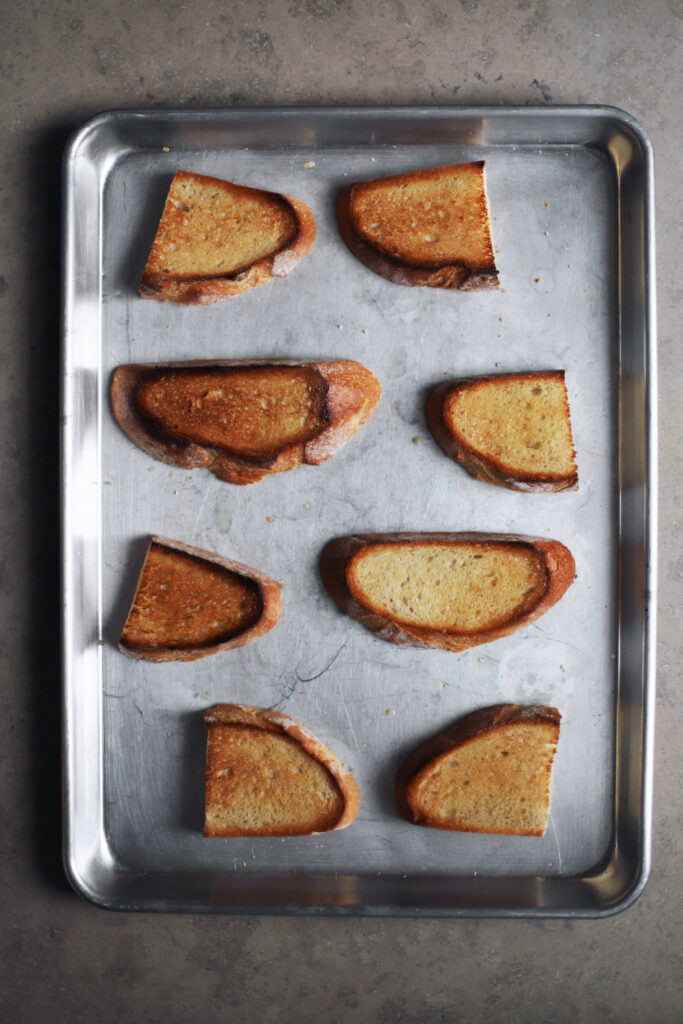
- Make the croûtes: Preheat the broiler. While you wait, lightly butter both sides of the bread slices and place them on a sheet pan (parchment-lined for easy cleanup). Broil until toasted on one side (about 1 to 5 minutes, depending on your broiler–check very frequently!), then remove from the oven and flip them over.
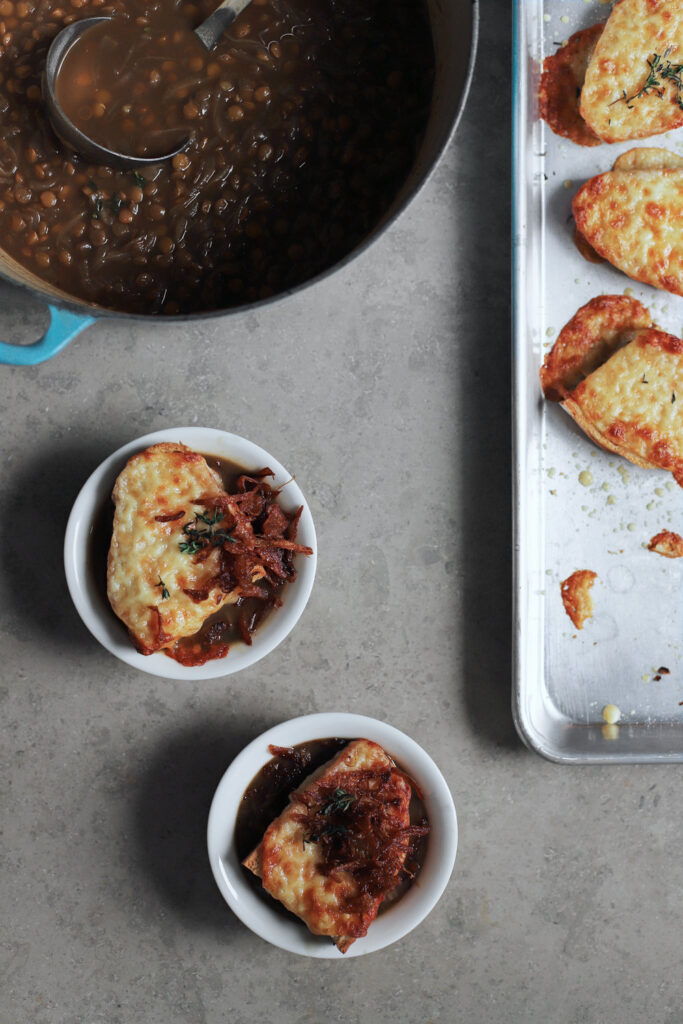
- Place the cheese slices on the un-toasted sides, then sprinkle with parmesan cheese. Place back under the broiler until the cheese is melted and browned in spots (another 1 to 5 minutes).
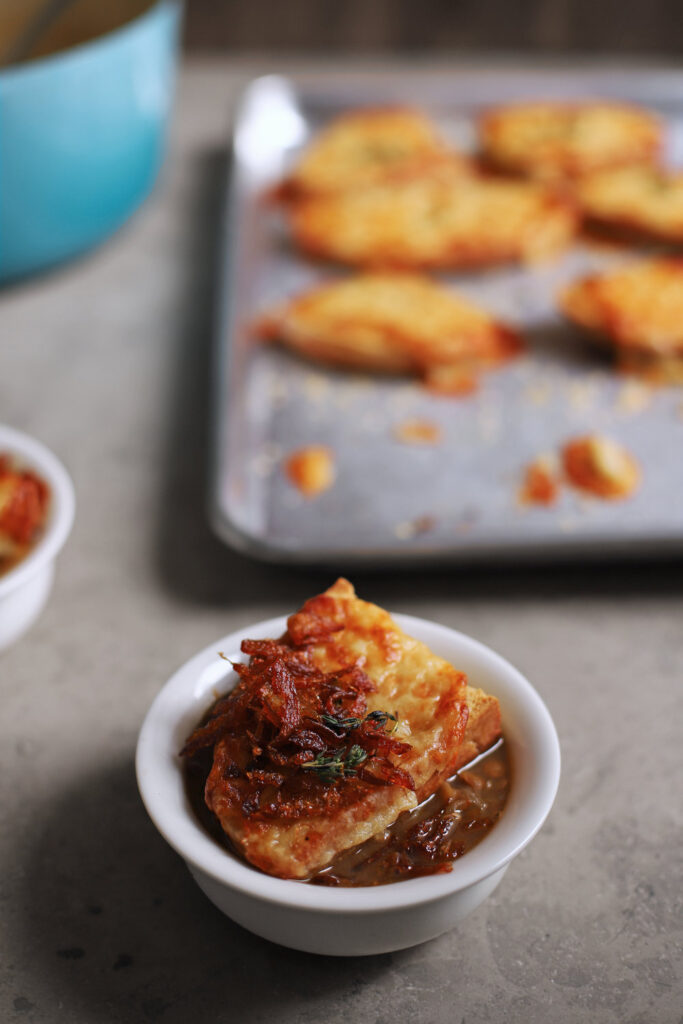
- Serve by ladling some soup into a bowl, topping with a croûte, and sprinkling with fried onions and a little thyme.
Notes
Notes on multitasking: While the onions finish caramelizing, start frying the ones you set aside. While the soup simmers, assemble the croûtes.
* If you want a method that requires less babysitting (but more time), try the method I use in my mujadara recipe