
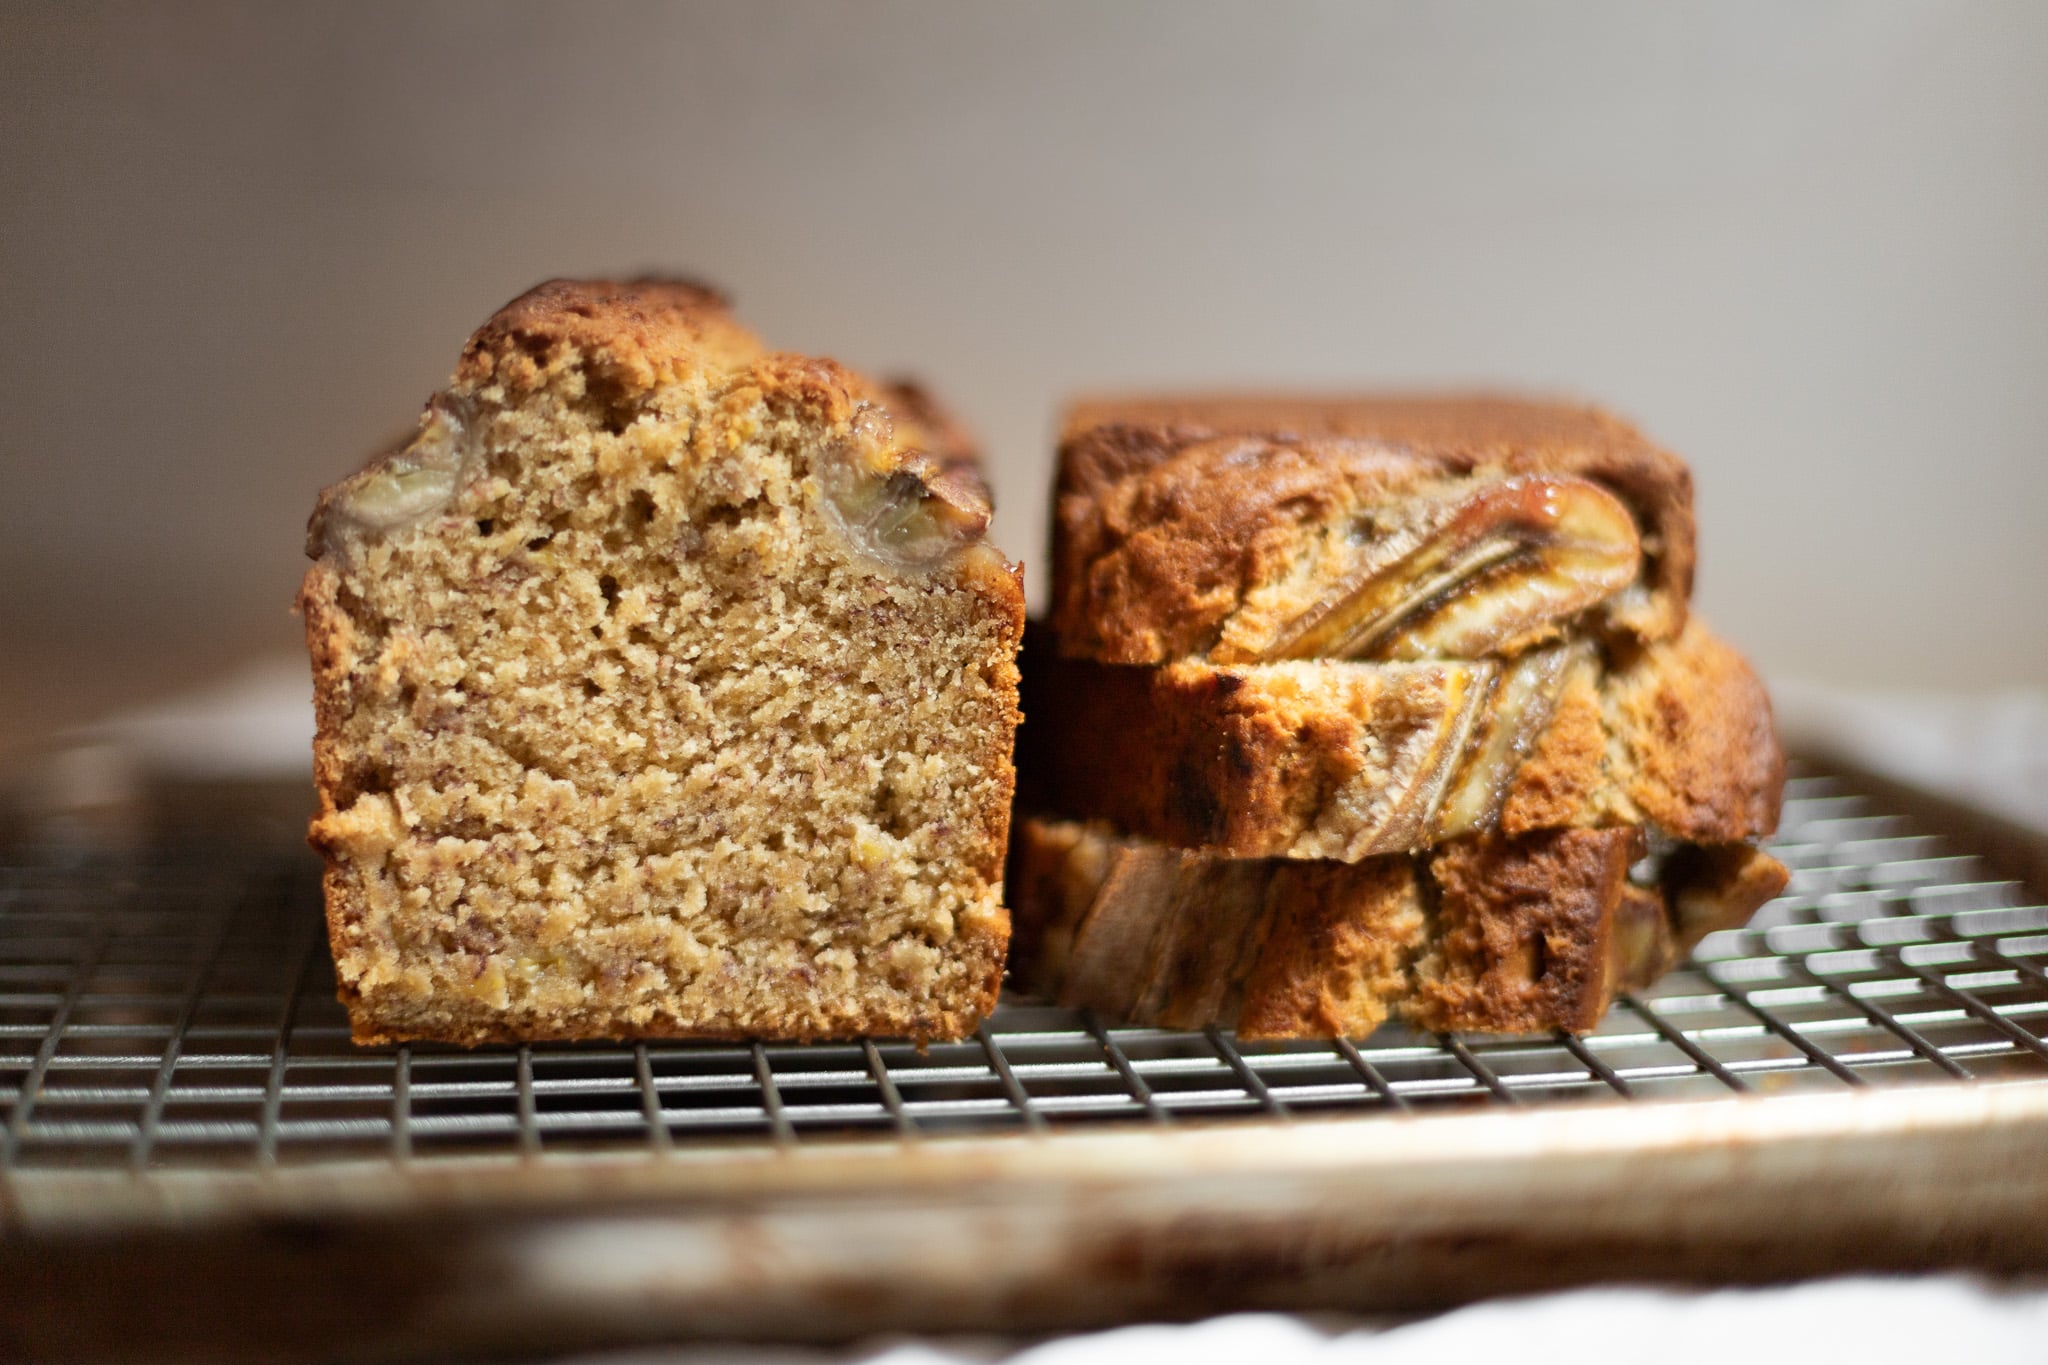
I have a bone to pick with maple syrup banana bread recipes: most only taste vaguely like banana… and just as vaguely like maple syrup. Getting these flavors to come through is harder than you might think. But I’ve developed a not-too-sweet recipe that delivers on both banana and maple flavor, with a super tender texture. And it’s vegan (100% incidentally!).
Jump to the recipe if you’re already on board. Or read on if you want to understand a bit more about how this problem works (and how I solved it).
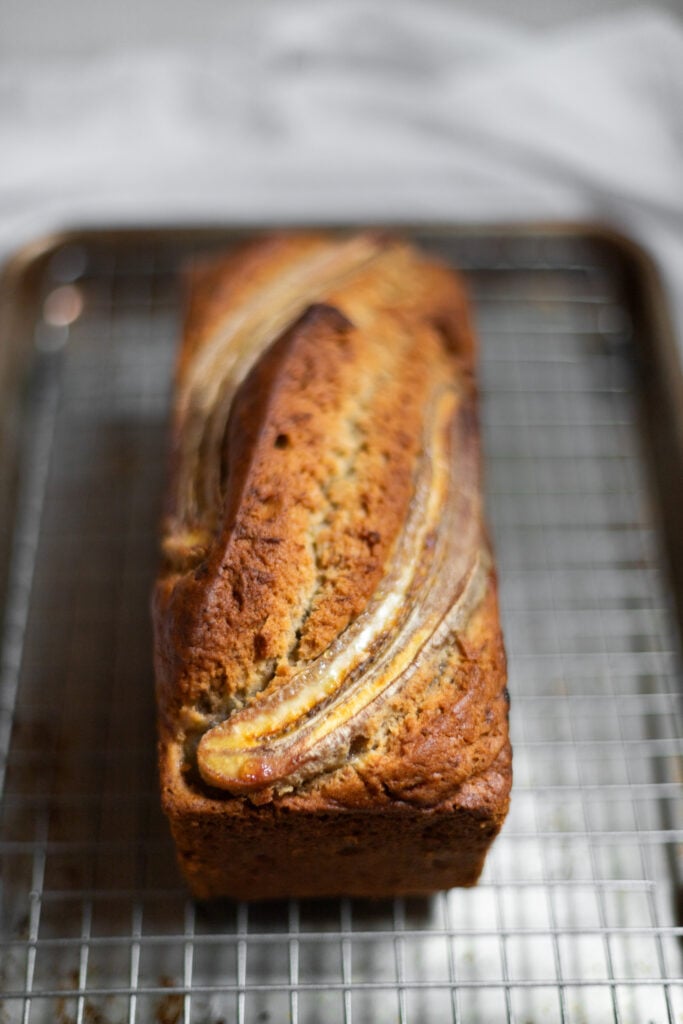
Why most maple syrup banana bread recipes struggle
Let’s start by listing our maple syrup banana bread goals. Okay so, we want:
- Robust maple syrup flavor
- Robust banana flavor
- Texture that’s tender (not squidgy or dry)
But there’s a huge problem! Maple syrup and banana are both subtly flavored, so to really taste them, we need a lot of both. So why not just add extra banana and maple syrup to a standard recipe? Well, because these two ingredients also contain a lot of moisture and a lot of sugar. Not to worry, we just have to do some budgeting!
Budget 1: The moisture budget
Bananas and maple syrup are both extremely moisture-heavy, and banana bread can only hold a certain amount of moisture before it becomes dense and squidgy. Think of this limit as our “moisture budget.” If we go over budget, we get a squidgy loaf, and if we go under budget, we get a dry loaf.
To get as much banana and maple flavor as possible, we must save our moisture budget for those 2 ingredients. That means no other wet ingredients: no milk, sour cream, or even (controversially!) eggs. But guess what most maple syrup banana bread recipes contain? All of the above. I even saw water in some recipes! Including ingredients like milk and water means we must use less maple syrup and less banana. And if we use less banana and maple, we get less banana and maple flavor.
Budget 2: The sugar budget
Our banana bread also has a sugar budget. Too much sugar results in a gummy, cloying loaf, while too little results in a bland, bready loaf. Bananas have a bit of sugar, while maple syrup has a ton. So if we want robust maple and banana flavor, we need to spend our whole budget on bananas and maple syrup. If we add brown sugar, we then need to add less maple syrup, and the resulting loaf will taste less mapley.
So no brown sugar, granulated sugar, honey, or other sweet ingredients. But guess what most maple syrup banana bread recipes contain? Yup, you guessed it! All of the above (again).
A balanced budget: not-too-sweet, perfect texture, big flavor
This recipe gets its moisture and sugar from just maple syrup and banana. We don’t add any filler, letting the banana and maple shine through.
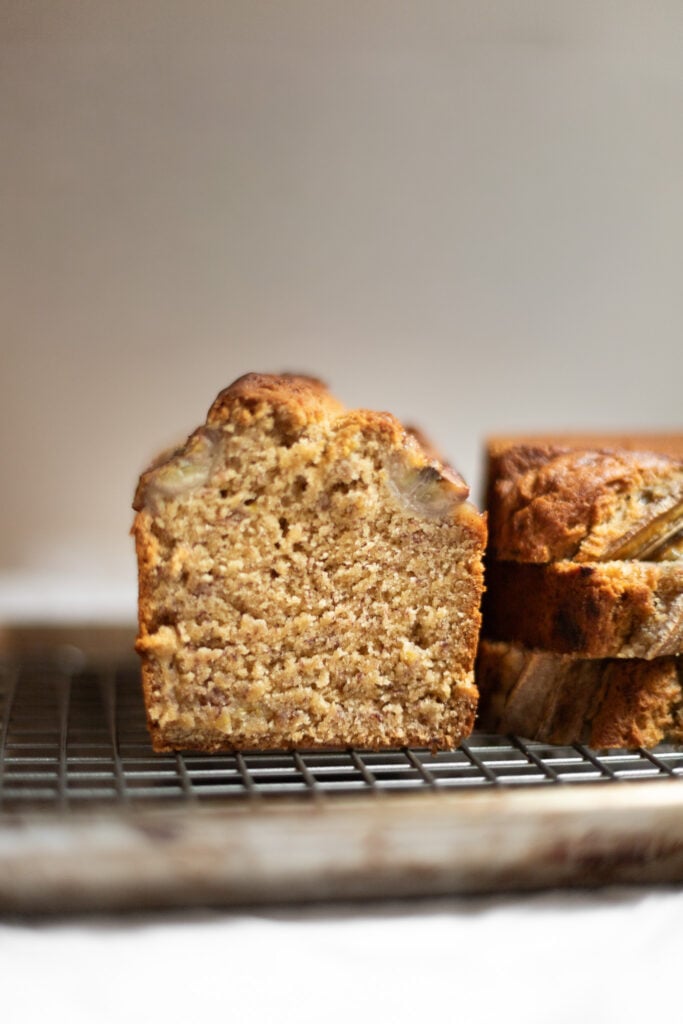
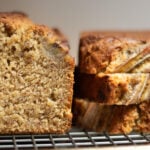
Using just the right amount of these ingredients also gives us the tender texture we’re looking for without veering into soggy territory. Maple syrup and the lack of egg tenderize it even further. A slice of this loaf yields beautifully to a dessert fork and crumbles apart (in a good way).
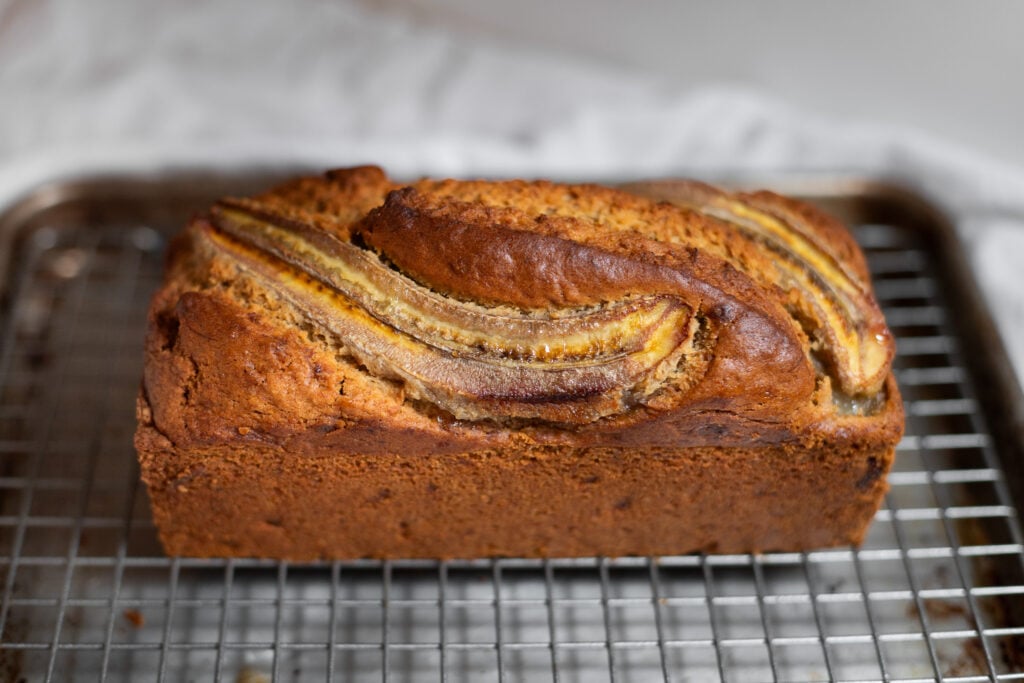
A few more recipe notes:
- It just happens to be vegan! Since we’re not using any filler ingredients, there’s no dairy or egg in this recipe, which conveniently makes it vegan.
- It uses oil instead of butter. Oil provides a moist texture that’s hard to beat.
- You can use any pure maple syrup you’d like (just not “pancake syrup”). It’s a common misconception that darker maple syrups are more concentrated or higher in sugar. All maple syrups should be about 2/3 sugar by weight, so this recipe will work with any of them. However, darker maple syrups are more flavorful, so if you want even more maple flavor, opt for a darker, more robust syrup.
- It doesn’t contain refined sugar. I’m not a dietitian, so I’m not here to tell you whether you should eat refined sugar or unrefined sugar. That’s officially none of my business. But if refined sugar is something you avoid, FYI, this recipe doesn’t contain refined sugar. Maple syrup is still considered an added sugar though, so if you avoid added sugar, that’s also something to note.
Looking for more banana bread? I might just be able to help.
PrintMaple Syrup Banana Bread (bold flavor, not-too-sweet)

Ingredients
- 1 cup [240 g] mashed banana from about 3 overripe bananas
- 1/2 cup [105 g] neutral oil*
- 2/3 cup [205 g] maple syrup
- 1/2 teaspoon fine sea salt or table salt
- 2 cups [260 g] all purpose flour
- 1/2 teaspoon baking soda
- 1 teaspoon baking powder
- 1 ripe banana, split lengthwise (optional)
Instructions
- Preheat the oven to 350°F [180°C].
- Grease an 8 x 4-inch [20 x 10 cm] loaf pan.**
- In a medium mixing bowl, whisk the mashed bananas together with the oil until very well combined. Add the maple syrup and salt and whisk together until completely incorporated.
- In a large mixing bowl, whisk or sift together the flour, baking soda, and baking powder.***
- Add the wet mixture to the flour mixture and stir to combine. Do not over-mix (stop mixing as soon as there are no dry pockets of flour).
- Spoon the batter into the loaf pan. Place the banana halves cut side up on top of the loaf (if using).
- Bake for 60-70 minutes. Check for doneness by inserting a toothpick or wooden skewer into the center of the loaf. If it comes out with batter, it needs more time, but if it comes out clean or with a few crumbs, it’s ready to take out.
- Remove from the pan and cool on a rack for at least 30 minutes before cutting and serving.
Notes
* E.g., a very light-flavored olive oil, canola oil, or any other neutral oil that is liquid at room temperature.
** To make this into muffins instead of a banana bread loaf, place 9 muffin liners in a muffin tin (homemade parchment liners or store-bought paper ones). If using parchment ones, drizzle them lightly with oil. Evenly distribute the batter between the 9 liners, then (optionally) top each with a 1/2-inch [13 mm] banana slice. Bake for about 25 minutes, until a toothpick inserted in the center comes out clean or with a few crumbs.
*** If you want to save on dishes, place a fine-mesh sieve over a paper towel and add the flour, baking soda, and baking powder to the sieve. Sift the dry ingredients directly onto the wet ingredients (and don’t forget the dust that filtered onto the paper towel too).
Note on the pan size: This recipe has never overflowed during testing, and it should not overflow on you if you use a standard 8 x 4-inch pan. But if yours does overflow, something has gone wrong with your ingredient ratios, oven temperature, or pan depth. If you’re making this for the first time and worried it might overflow, you can place a baking sheet on the rack one level down from the rack you’re baking on.
Video note: If you don’t see the video for this post after scrolling up, please disable ad block and try reloading the page.
Leave a Reply