This recipe is inspired by my Auntie May’s famous nazook recipe. It’s impossible for anyone in my family to bake or eat nazook (AKA nazooki) without thinking about her. My version is deeply indebted to hers (which are truly the GOAT). Mine is also darn good because of all I learned from May’s example.
Jump to the recipe if you’re ready to bake, or read on for a few handy tips and tricks:
This post contains affiliate links (learn more).
A few tips on making the best nazook:
1. Do not bake them chilled!
This is the weirdest tip for baking nazook, but I learned the hard way. While many pie dough recipes tell you to chill it first so it holds its shape, the same is not true of this kind of dough. If you chill it before baking, they will crack and slowly explode open.
I have no idea why this happens, and would love if some friendly food scientist out there could fill me in. All I know is that it is something to worry about and avoid. Do not bake these from chilled, as you would with pie dough or shortbread.
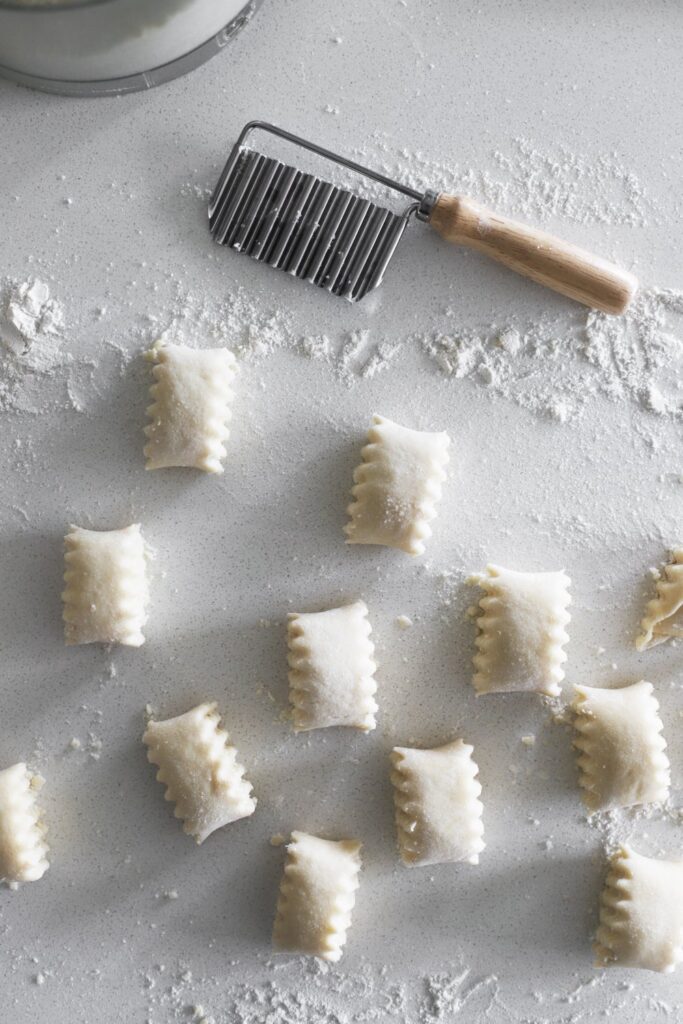
2. You don’t need a crinkle cutter (but do buy one if you’re serious about nazook)
They will be equally tasty even if you don’t have a crinkle cutter. But they will not be as cute. I highly recommend buying a crinkle cutter for that authentic nazook look. Most crinkle cutters are around $10 and pretty easy to find online. This is the crinkle cutter I use (affiliate link).
3. Shape the log evenly.
The steps to shaping nazook are: roll out, fill, roll up, slice. But it’s not quite as simple as that.
After filling and rolling it up, the ends of the log tend to get a bit spindly while the center tends to get a bit chubby. Make sure your log is evenly shaped before slicing by slightly rolling out the center of the log as if it were a rolling pin. Also squish the sides in a bit to make sure they are not too thin. Slightly smaller nazook will turn out better than larger ones and will be less likely to misshape in the oven.
4. Store in the freezer to keep them fresh.
No one likes a stale nazook! And like all baked goods, these will stale quickly at room temperature after the first 12 hours or so. Freeze whatever you don’t plan to consume that day, and enjoy later. Freeze them once they’ve completely cooled, but while they’re still very fresh for the best results.
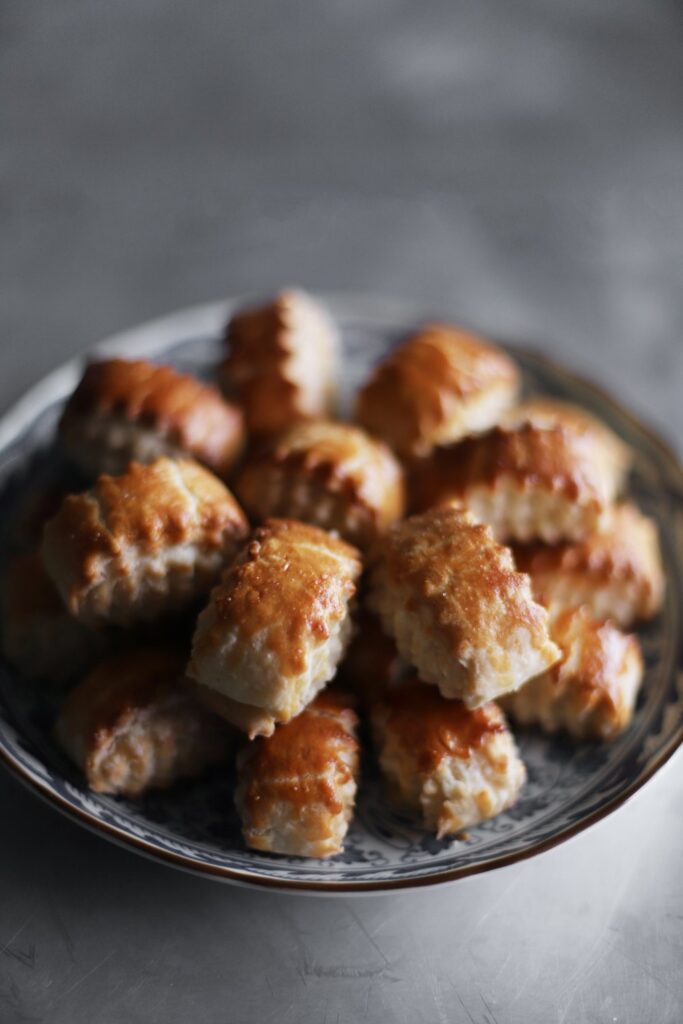
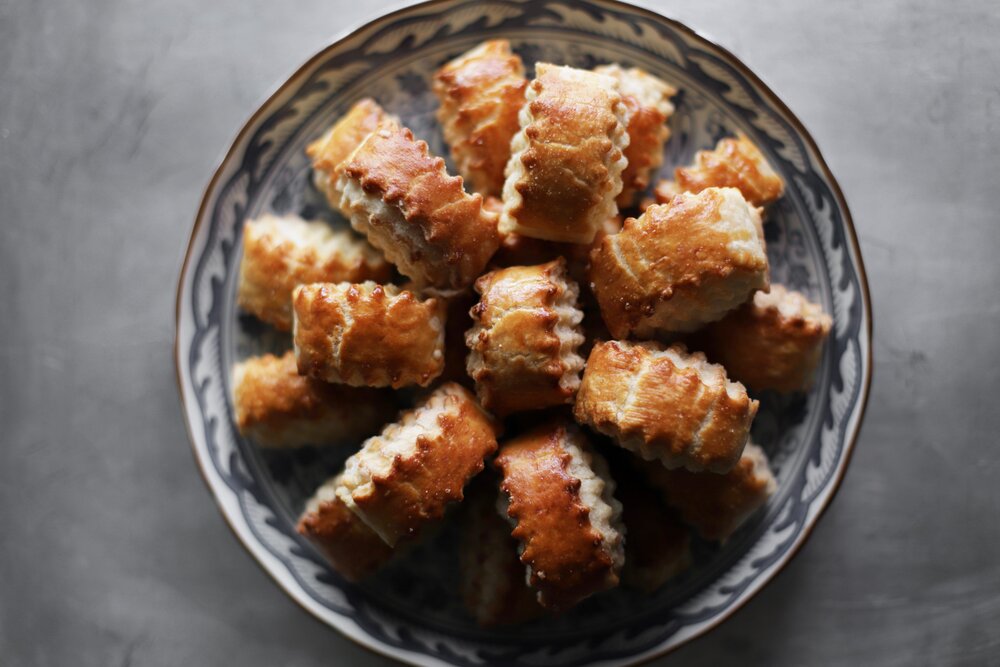
Nazook (Armenian/Assyrian pastries)


- Prep Time: 1 hour
- Total Time: 12-36 hours
- Yield: 3 dozen cookies
Ingredients
for the filling:
- 100g flour (about 3/4 cup)
- 150g sugar (about 3/4 cup)
- 85g cold unsalted butter (6 tablespoons), cut into 1/2-tablespoons
- 2g vanilla extract (½ teaspoon)
- 1 pinch salt
for the dough:
- 400g flour (about 3 cups)
- 230g cold unsalted butter (2 sticks), cut into ½-tablespoon-sized pieces
- 6g salt (1 teaspoon)
- 225g full-fat sour cream (1 cup)
- 5g instant yeast (1 1/2 teaspoons)
- 30g sugar (2 tablespoons)
- 2g vanilla extract (1/2 teaspoon)
- 1 beaten room temperature egg, for the egg wash*
- Special equipment: a crinkle cutter**
Instructions
- For the filling: Mix the flour, sugar, butter, vanilla, and salt with a pastry blender or food processor fitted with the blade attachment, until it’s completely combined and there are no chunks of butter. Remove the filling to a container (don’t compress it), seal it shut, and store it in the refrigerator until you’re ready to use it.
- Don’t bother washing the food processor, because you’ll use it in the next step.
- For the dough: Add the flour, butter, and salt to the food processor. Pulse several times, until there are no big pieces.
- In a small mixing bowl, combine the sour cream, yeast, sugar, and vanilla, and then add it to the food processor with the butter/flour mixture. Pulse several more times, until it comes together into a soft dough (don’t overmix, and stop as soon as it comes together).
- Shape the dough into 3 equal discs (about 300g each), and cover them with plastic wrap. Let them sit at cool room temperature for 30 minutes, and then rest them in the refrigerator overnight, up to 36 hours.
- Preheat the oven to 350°F/180°C when you’re ready to bake.
- Lightly flour the counter, and roll one of the chilled dough discs out into a 10 x 14” rectangle (⅛-inch thick). A few tips on making a rectangle: first, gently tap the sides on the counter to square them off. As you roll it out, pat the sides in every once in a while to help nudge it into a rectangle instead of a circle, and then continue rolling.
- Crumble and spread the filling out to the edges of the rectangle, leaving about ¼-inch border on the 2 long sides. Use the heel of your hand to gently compress the filling into an even layer.
- Tightly roll up from one long side to the other. Once it’s almost totally rolled up, dab a tiny bit of water along the long side to help it seal shut.
- Place the log so the seam is tucked under the bottom, and very slightly flatten the log with your rolling pin so that it’s about 1 1/4” tall (and 1 3/4” wide). Use a crinkle cutter to slice the log into approximately 1”-wide pieces.
- Repeat with the other dough balls.
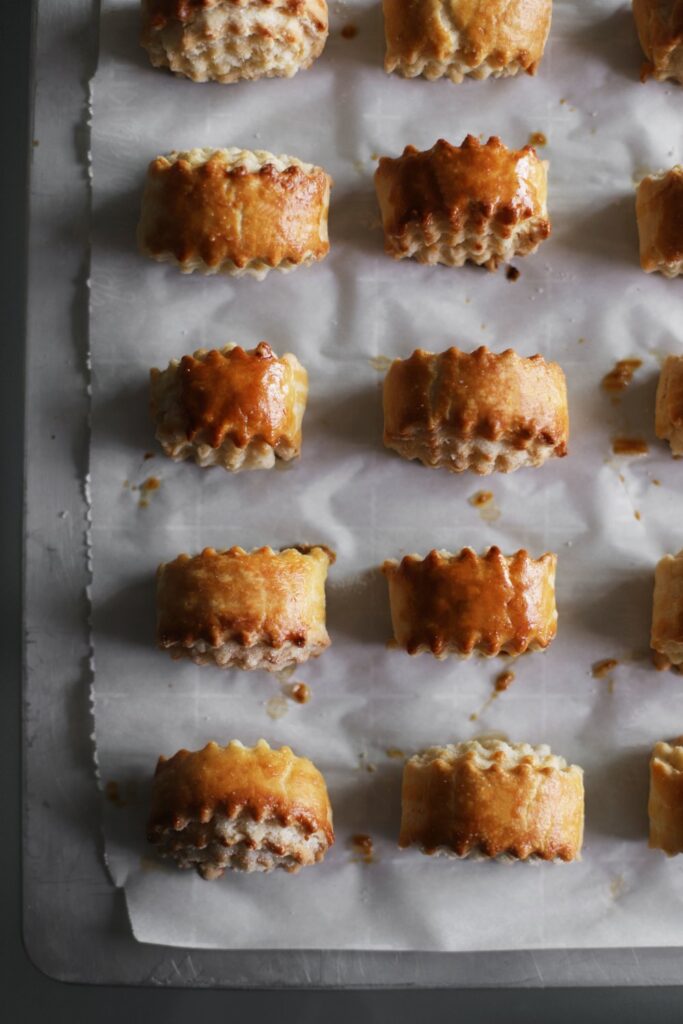
- Place the pieces on parchment-lined sheet pans. Let them sit for 10 minutes to bring them completely to room temperature.***
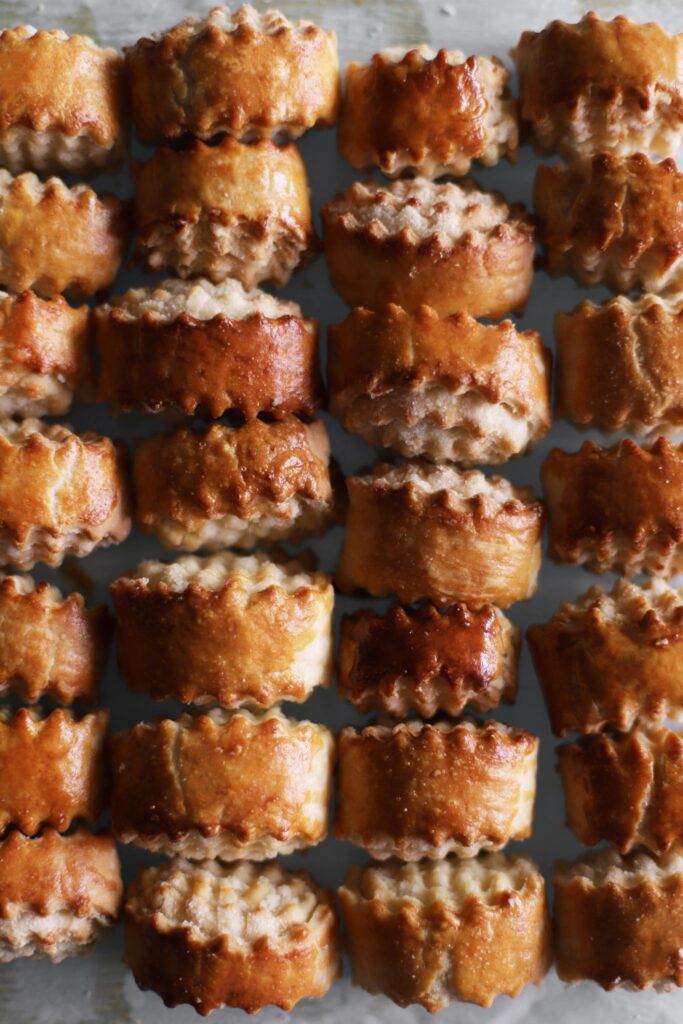
- Brush their tops with the room temperature beaten egg. Bake for 35 minutes until deeply golden brown and cooked through.
Notes
* To quickly bring the egg to room temperature, place it in a glass, cover with hot tap water, and let it sit for a few minutes.
** No worries if you don’t have a crinkle cutter. You can totally use a knife instead—they’ll just have a different look. This crinkle cutter (affiliate link) is the one that I personally use.
*** If you bake them cold, they will burst open and crack dramatically as they bake (a few little cracks are totally fine, but cold nazook split open very dramatically). Another way to prevent cracks is to cut them a little smaller. Sometimes the middle of the log bulges a little after rolling it up, but you can gently roll it back and forth like a rolling pin to make the center a bit thinner. Squish in the sides slightly to make sure they don’t get too spindly.
To store: Nazook (like many floury, buttery baked goods) stale at room temperature after the first day or two, and stale even more quickly in the refrigerator. They will keep for up to 3 months tightly wrapped in the freezer. Do not store these in the refrigerator! If I’m not eating them 12-16 hours after baking, I like to store them in the freezer immediately after baking to make sure they stay super fresh, and let them thaw at room temperature for a couple hours before enjoying later on. You can also microwave them for just a few seconds to warm them through if they’re tasting a little on the stale side.
Can the filling and/or dough be made ahead and frozen for a short time? thanks
Apologies that I’m just now seeing your comment! I suspect so, although I’ve never tried it. Just make sure that they are at room temperature (thawed completely, but also not cold) before baking or they will split.
I’m Assyrian and my beloved Auntie Doris (Chicago) gave me a recipe she used for Nazooki– it says ‘by May Jacobs’ at the top. After reading your sweet story, I wondered if your Auntie May could be the same person who’s recipe my auntie gave me. Looking forward to hearing from you. . . and thanks for this recipe!
That is absolutely our auntie May!! Omg you absolutely made my day. That’s wonderful.
These look amazing! Hoping to prepare them fresh this year for Thanksgiving – would this still work if I prepared the recipe and stored the cut pieces overnight in the fridge or freezer so I can easily thaw and bake the next day?
Sorry that I’m just now seeing your comment! My spam plugin flagged it for some unknown reason! In case anyone else is curious, or in case you make these again:
I haven’t tested it so I can’t say for sure, but I suspect that would work! Just make sure they are absolutely room temperature before baking them. Let me know how it turns out if you try/tried it!
You teased us with May’s recipe and then didn’t print it along with your own. Will you share it so we can make both recipes to decide which one we like best?
I thought about sharing it, but I felt kind of weird about doing so since I make money from advertisements on my website. I thought a lot about it and I wanted to do what felt the most respectful. I’m not sure if I made the right choice, but maybe I could share it in another post and disable ads there. Or I could link to an image of it from this post? I’ll think about it!
Awesome, than you for sharing, I love nazook!
I just wanted to know if I can add walnuts to the filling.
Hi there! A small amount of finely chopped walnuts shouldn’t affect the recipe, but you might have a little filling leftover at the end, depending on how much you use.
Light, fluffy, and so authentic – we eat these every Christmas!
That’s such a great description!
The best Nazooki I have ever had! Thank you!!
Aw I’m so glad to hear that!! You’re very welcome!
How do prevent it from spreading? I made this one and taste was very good. Do you thaw it after taking it out from the fridge? Or do you refrigerate it after you cut them and then when its cold enough you bake them right away?
Ooh I can definitely help. So first off, you definitely don’t want to chill them after slicing/before baking. They will split open if they’re baked right from chilled (for some reason, nazook dough works very differently from, say, pie dough). If you’re having trouble with them spreading, it is most likely because you’re not using quite enough flour. Measuring in grams is the only way to ensure totally accurate measurements, so if you’ve got a digital scale, definitely give it a try if you haven’t already.